Since its inception, WordPress has offered a myriad of plugins both free and premium to boost the performance of the website and to meet just about any need of the users. If you've ever played around with plugins that deal in responsive gallery solutions then you'd probably have heard about the Envira plugin.
Envira is a newly developed responsive gallery plugin that allows you to create and insert simple and beautiful images to your galleries on your WordPress based website. The plugin is a great solution for managing the workflow of your galleries in an easy and intuitive manner. The plugin is completely responsive that makes your gallery look stunning from initial to lightbox view. And it's responsive, so you don't need to care about the look it takes on other devices.
The plugin comes in both free and premium versions out of which you can choose the one which suits your needs best. And, it is incredibly fast just like some other popular plugins of WordPress.
So, in this post, we are going to share an overview of how you can use the Envira plugin to manage your image galleries. We'll also talk about which version is best for you- free or paid.
1. Creating the Gallery
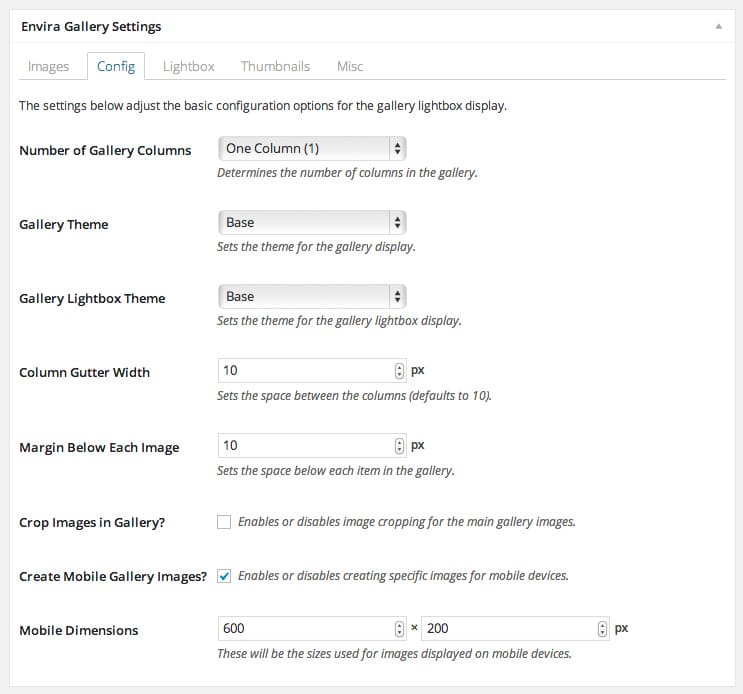
Adding images to the gallery is super easy in both free and premium versions, with the difference of 8 in the free and unlimited in the premium. It's just like you are uploading images to your media gallery, just choose the media file and upload it, just the way you do on your computer. After this, you can arrange all of them in a well-organized manner with the help of the drag and drop feature.
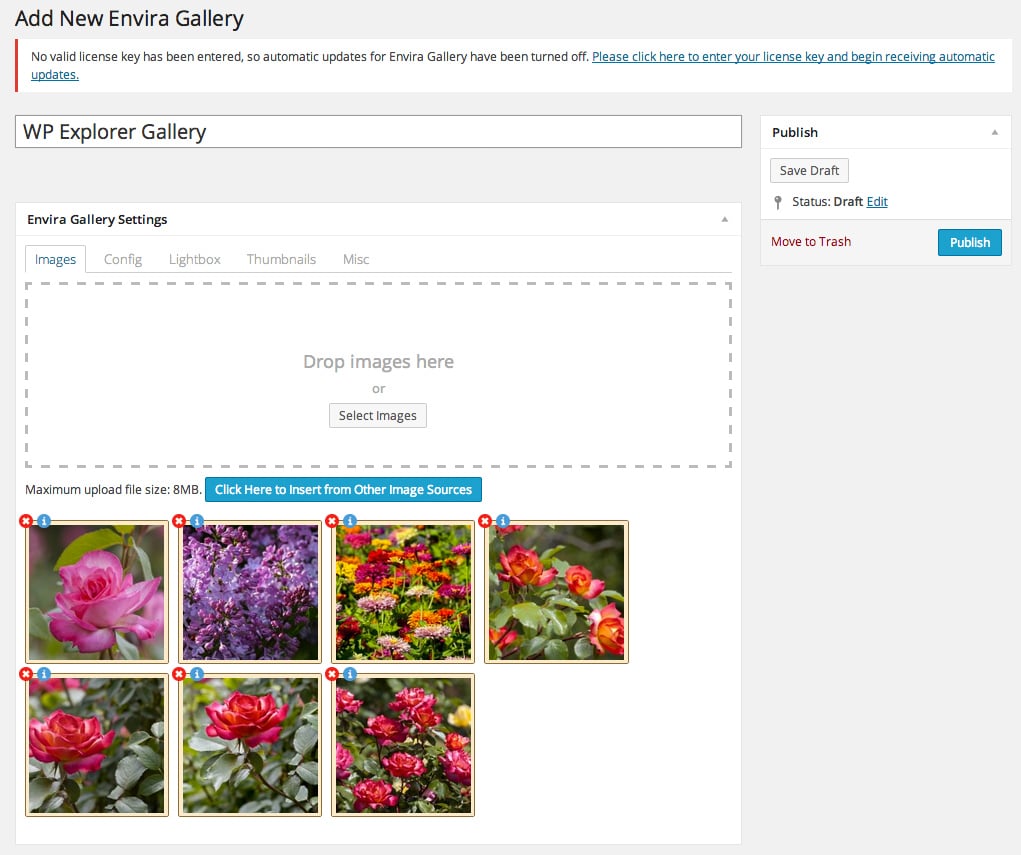
There are some other features through which you can configure, edit, or accept the images uploaded to your gallery. You can also distribute your images up to 6 columns for a clean look. It will appear like this:
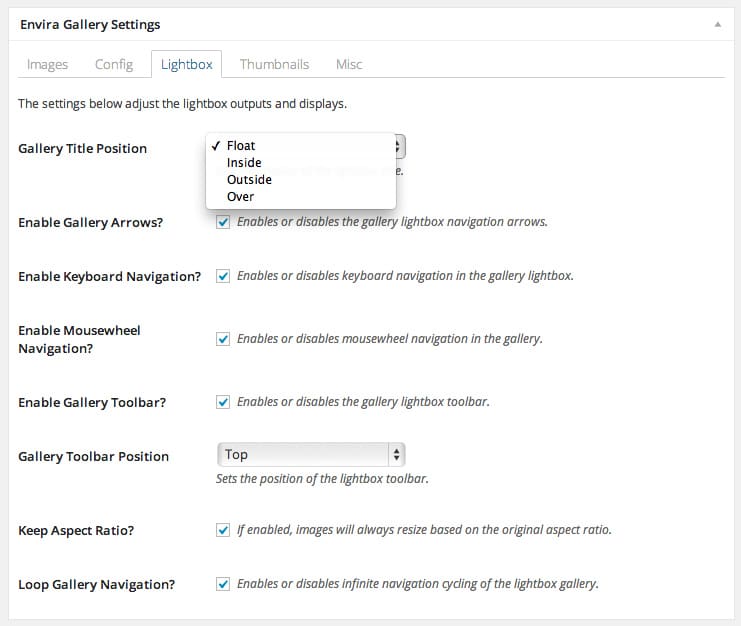
2. Lightbox Settings
If you own a free version, your choice is limited to just the basic theme. On the other hand for premium, you'll have plenty of control over your lightbox and you can upgrade it with a variety of interesting add-ons or features such as keyboard or mouse navigation. You can also display your images in a loop manner.
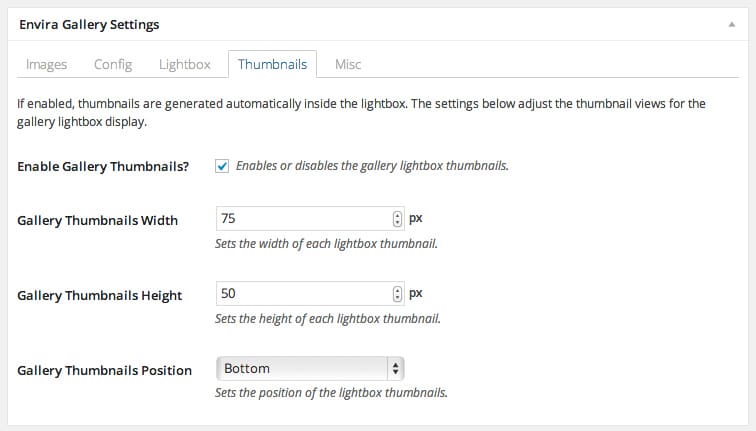
3. Thumbnail Settings
Only with the premium version, you'll have the facility to modify the thumbnail as per your choice. In the free version, depending on the width of your column post, and the number of columns you choose, the thumbnail will adjust itself to fit the criteria of that particular area.
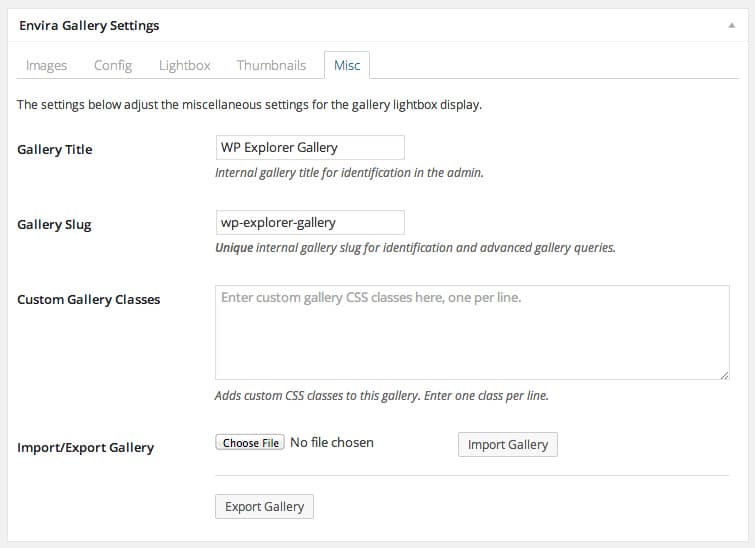
4. Other Settings
There are some miscellaneous settings that you can see while working with the plugin. Again you can see, the features related to importing and exporting of galleries are only available in the premium version, which definitely reduces the time needed in configuring the gallery and you need to use the same setting for another gallery you've created, again starting from scratch would lead to waste of time. This is where the import-export feature comes in handy.
5. Creating Galleries within Posts and Pages
Available only in the premium version, the plugin makes it extremely easy for you to insert galleries to your posts and pages. For those who work frequently on creating posts and pages, there is no need to reinvent the wheel to go and add a new gallery from the Envira menu. You can do this right here by clicking on the 'Add Gallery' button located beside the 'Add Media' button to add it to your posts.
Conclusion
The results produced by Envira are fantastic. It enhances the overall appearance, looks, and feel of your galleries. By giving you the freedom to do just about anything, Envira is sure to be a winner in the realm of WordPress gallery plugins.
Images by WPEXPLORER , Carli Jean Miller
Superb blog! Do you have any helpful hints for aspiring writers? I’m planning to start my own blog soon but I’m a little lost on everything. Would you propose starting with a free platform like WordPress or go for a paid option? There are so many choices out there that I’m totally confused .. Any recommendations? Thanks a lot!
Hello Zainab, I have not used the ones mentioned above, I use Sticky Password and it is great. Maybe you can give it a try too?