
I have previously used WordPress to build large eCommerce websites, used it for school websites, used it to build review sites, and recently created a hotel booking engine that runs on WordPress. All these projects required different approaches since they have different features and each project’s needs are uniquely different from the other.
WordPress proved to be the most reliable free CMS for these projects. Most importantly, WordPress custom post types play a pivotal role in creating innovative solutions. They are the engine of innovation in WordPress; in this tutorial, I will outline how to harness the power of custom post types to build custom CMS in WordPress.
Introduction to Custom Post Types
When using WordPress to create a content management system, you will be required to display different types of content that the default posts and pages cannot display. When publishing content on WordPress it is referred to as a post or page. The distinction between the two is the fact that posts are based on a timeline while pages can be static. WordPress post types are usually stored in the same database table - wp_posts they are however differentiated in the database by the column named - post_type. See the image below;

As you can see the post_type is a column in the WordPress database that categorizes pages and posts. You can access your WordPress database by going to Phpmyadmin then choose the database on the left.
Hint: If you have multiple databases on your panel you can identify the specific database by looking for the ‘database name’ in the wp-config.php file.
Default WordPress post_types
WordPress has five default post_types that come with default WordPress installation, they include;
Post (Post Type: 'post')
Page (Post Type: 'page')
Attachment (Post Type: 'attachment')
Revision (Post Type: 'revision')
Navigation menu (Post Type: 'nav_menu_item')
If you have used WordPress you have probably created a post, created a page, or added a menu in your blog. These are the default posts that you use for publishing content on WordPress. These default post_types are limiting especially when you are creating a custom web project. If you want to use WordPress as a content management system, you may use plugins to add features to your site.
Nevertheless, there may be few plugins available for your precise needs. Using several plugins also comes with a downside; these plugins not only bloat your site but also make you reliant on third-party developers who cannot always be trusted. Custom post types ,therefore provide a perfect solution for you to expand WordPress functionality and feel in control of your own destiny.
Custom Post Types
Custom post types allow you to create your own type of content other than the default 5 post types. This means you can create additional post type and use it to publish your content. This allows WordPress to be used for a wide range of content management. Example; you can use WordPress to build eCommerce since you can create custom post type for products. The possibilities of using custom post type are limitless since you can build any kind of website utilizing the custom post type feature.
Creating Custom Post Types
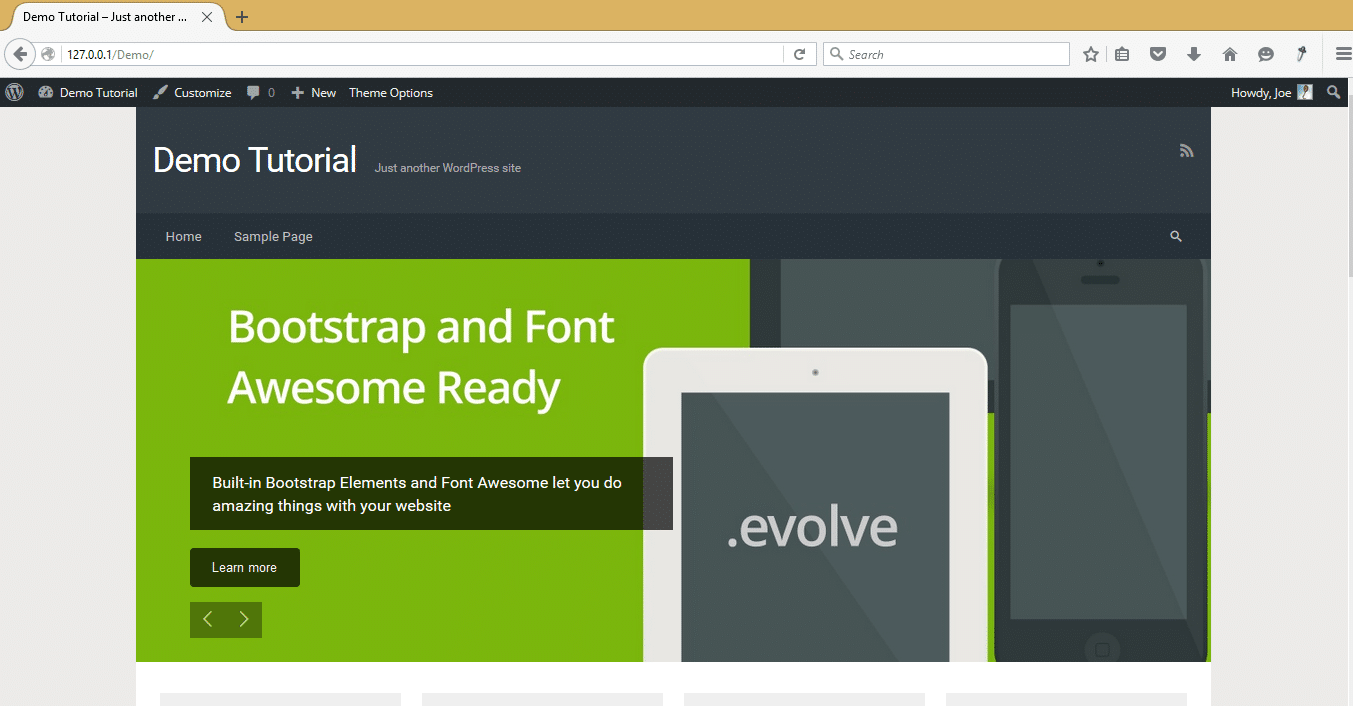
To begin creating custom post types you need to decide whether you will add them on the existing WordPress theme or you will create a plugin. I want to focus this tutorial on a recent project where a client requested my help in creating a WordPress site for listing city hotels.
I will show you using this example, how to use custom post types to create this kind of CMS. I have already set up my localhost WordPress development environment. I previously set up WordPress on localhost – Xampp and have also installed evolve theme for tutorial demonstration. You can download evolve multipurpose responsive theme for FREE here and let us get started.
Creating custom post types will require us to create the post types, taxonomies, and meta boxes. Let’s look in-depth at each of these steps.
Step 1: Registering Custom Post Types
The first step is to register a custom post type; we will be creating the custom post type on Evolve theme. You can also create a plugin for the custom posts but adding directly to the theme makes it quick and easier. We will be adding the code in the function.php file. To register custom posts we need to use the register_post_type() function as follows;
function my_custom_post_hotel() {

$args = array();

register_post_type( 'hotel', $args );

}

add_action( 'init', 'my_custom_post_hotel' );
We will now be creating two arrays that store the values of the custom post type and also control how the custom post work.
Step 2: Adding Labels Array, Adding Values to Args Array
These two arrays are going to determine how the custom post types work and how and where they appear. The labels array contains the labels that define options for the custom array. The labels array should look like this:
$labels = array(

'name'               => _x( 'Hotels', 'post type general name' ),

'singular_name'      => _x( 'Hotel', 'post type singular name' ),

'add_new'            => _x( 'Add New', 'Hotel' ),

'add_new_item'       => __( 'Add New Hotel' ),

'edit_item'          => __( 'Edit Hotel' ),

'new_item'           => __( 'New Hotel' ),

'all_items'          => __( 'All Hotels' ),

'view_item'          => __( 'View Hotel' ),

'search_items'       => __( 'Search hotels' ),

'not_found'          => __( 'No hotels found' ),

'not_found_in_trash' => __( 'No hotels found in the Trash' ),

'parent_item_colon'  => '',

'menu_name'          => 'Hotels'

);
The args array has a description that shows what the custom post does, it also has the menu position whose array key defines the position where the menu of this custom post appears in the dashboard menu and it is defined as 3. The array also has the support and archives that both define how to custom post works and its features. The args array also calls the preceding labels array, so it should look like this:
$args = array(

'labels'        => $labels,

'description'   => 'Displays city hotels and their ratings',

'public'        => true,

'menu_position' => 3,

'supports'      => array( 'title', 'editor', 'thumbnail', 'excerpt', 'comments' ),

'has_archive'   => true,

);
You should now add both arrays to the custom post-registration and then add this code to the function.php file. Here is the full code combine; check out the comments I have added to the code to differentiate each of the code blocks discussed above:
// Adding Custom Post Type for Hotels Listing
function my_custom_post_hotel() {
//labels array added inside the function and precedes args array
$labels = array(
'name' => _x( 'Hotels', 'post type general name' ),
'singular_name' => _x( 'Hotel', 'post type singular name' ),
'add_new' => _x( 'Add New', 'Hotel' ),
'add_new_item' => __( 'Add New Hotel' ),
'edit_item' => __( 'Edit Hotel' ),
'new_item' => __( 'New Hotel' ),
'all_items' => __( 'All Hotels' ),
'view_item' => __( 'View Hotel' ),
'search_items' => __( 'Search hotels' ),
'not_found' => __( 'No hotels found' ),
'not_found_in_trash' => __( 'No hotels found in the Trash' ),
'parent_item_colon' => '',
'menu_name' => 'Hotels'
);
// args array
$args = array(
'labels' => $labels,
'description' => 'Displays city hotels and their ratings',
'public' => true,
'menu_position' => 4,
'supports' => array( 'title', 'editor', 'thumbnail', 'excerpt', 'comments' ),
'has_archive' => true,
);
register_post_type( 'hotel', $args );
}
add_action( 'init', 'my_custom_post_hotel' );
You can now paste this code in your function.php; when adding this code ensure you are careful to avoid causing a parse error and a possible WordPress white screen of death.
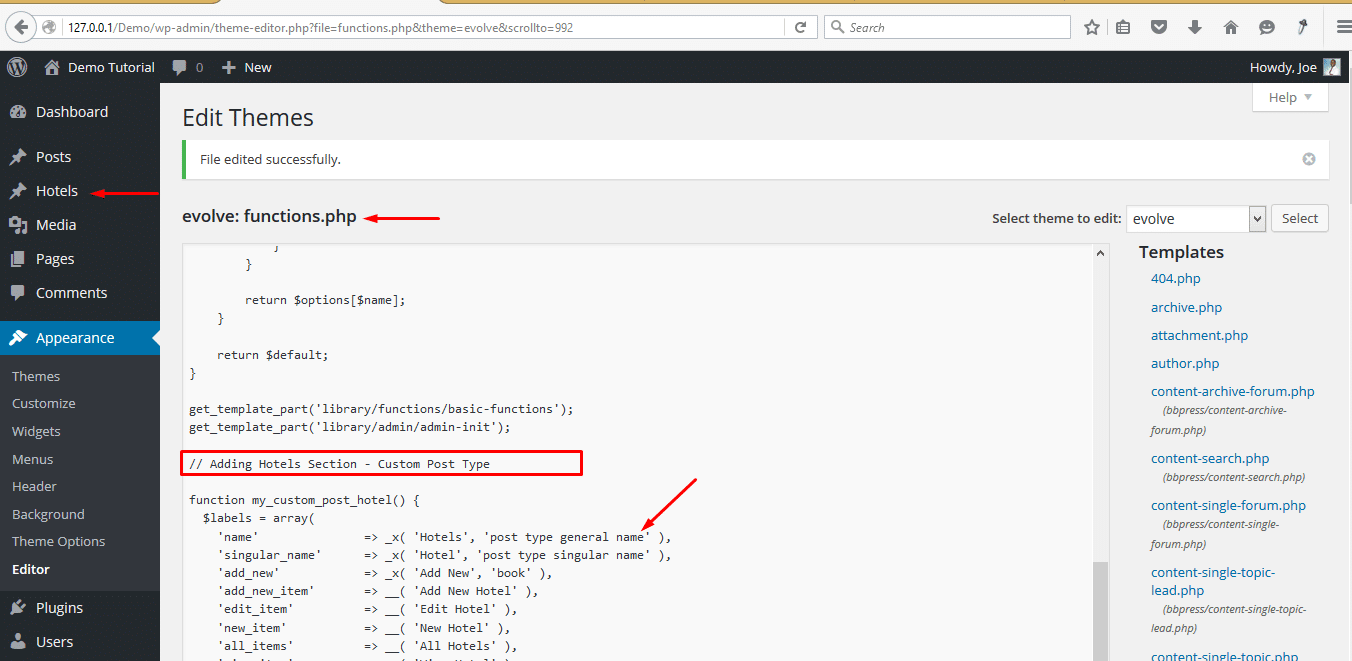
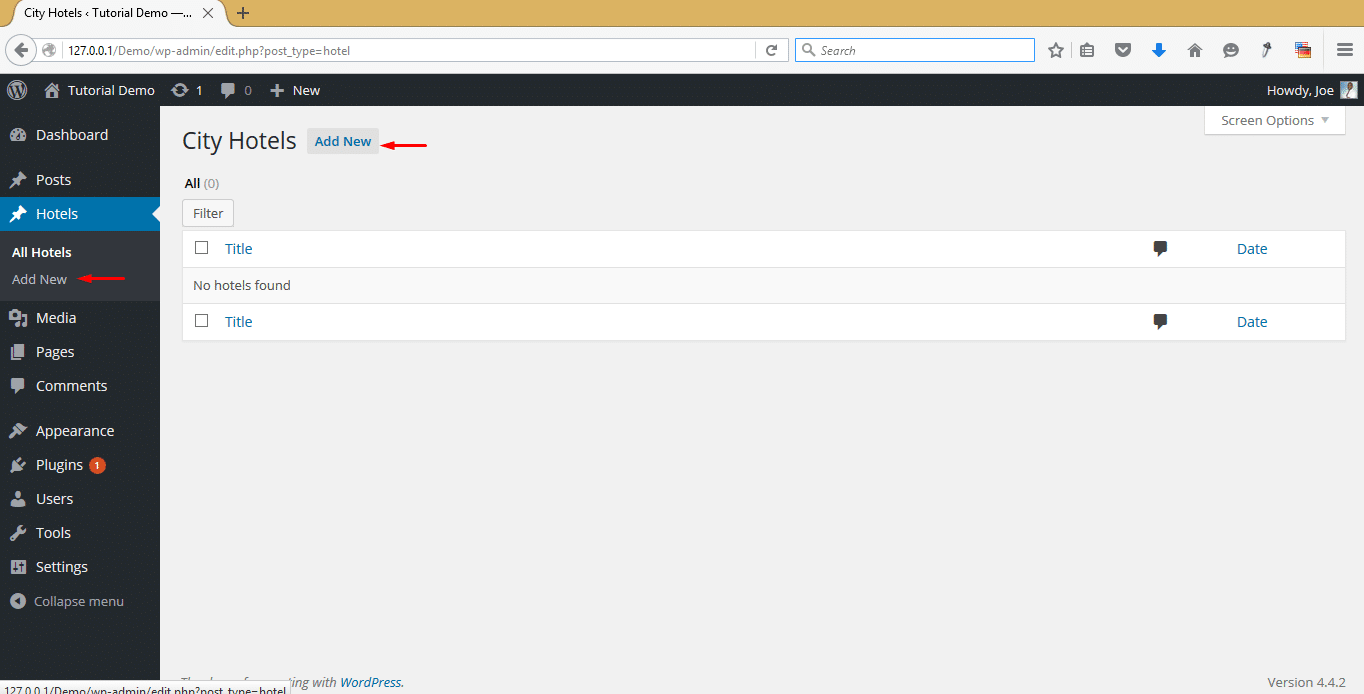
If you have done everything correctly you should now see the hotels section listed in the WordPress dashboard menu. You should now click on it and try to add a hotel and see how it works. Here is how it should look:
Step 3: Creating Custom Taxonomies
The default WordPress posts use categories and tags to organize content. For custom post types we can create a different content structure that is more specific for our site. Creating custom taxonomies allows us to have categories for our custom posts that are different from the default WordPress categories. To create them we should register custom taxonomies using register_taxonomy(); function:
function my_taxonomies_hotel() {

$args = array();

register_taxonomy( 'hotel_category', 'hotel' $args );

}

add_action( 'init', 'my_taxonomies_hotel', 0 );
We now need to add an array that contains labels that define the custom taxonomies and also example the args array to call the labels array as well as define the Boolean value for the hierarchy or these taxonomies. We add the labels array that defines the taxonomies as follows:
$labels = array(

'name'              => _x( 'Hotel Categories', 'taxonomy general name' ),

'singular_name'     => _x( 'Hotel  Category', 'taxonomy singular name' ),

'search_items'      => __( 'Search Hotel Categories' ),

'all_items'         => __( 'All Hotel Categories' ),

'parent_item'       => __( 'Parent Hotel Category' ),

'parent_item_colon' => __( 'Parent Hotel Category:' ),

'edit_item'         => __( 'Edit Hotel Category' ),

'update_item'       => __( 'Update Hotel Category' ),

'add_new_item'      => __( 'Add New Hotel Category' ),

'new_item_name'     => __( 'New Hotel Category' ),

'menu_name'         => __( ' Hotel Categories' ),

);
Now the args array should call the preceding labels array and also contain a Boolean for the hierarchy of the taxonomies.
$args = array(

'labels' => $labels,

'hierarchical' => true,

);
When we combine the registration function, labels array and the args array of the custom taxonomies the full code should be:
//creating custom taxonomies for hotels custom post
//registration of taxonomies
function my_taxonomies_hotel() {
//labels array
$labels = array(
'name' => _x( 'Hotel Categories', 'taxonomy general name' ),
'singular_name' => _x( 'Hotel Category', 'taxonomy singular name' ),
'search_items' => __( 'Search Hotel Categories' ),
'all_items' => __( 'All Hotel Categories' ),
'parent_item' => __( 'Parent Hotel Category' ),
'parent_item_colon' => __( 'Parent Hotel Category:' ),
'edit_item' => __( 'Edit Hotel Category' ),
'update_item' => __( 'Update Hotel Category' ),
'add_new_item' => __( 'Add New Hotel Category' ),
'new_item_name' => __( 'New Hotel Category' ),
'menu_name' => __( ' Hotel Categories' ),
);
//args array
$args = array(
'labels' => $labels,
'hierarchical' => true,
);
register_taxonomy( 'hotel_category', 'hotel', $args );
}
add_action( 'init', 'my_taxonomies_hotel', 0 );
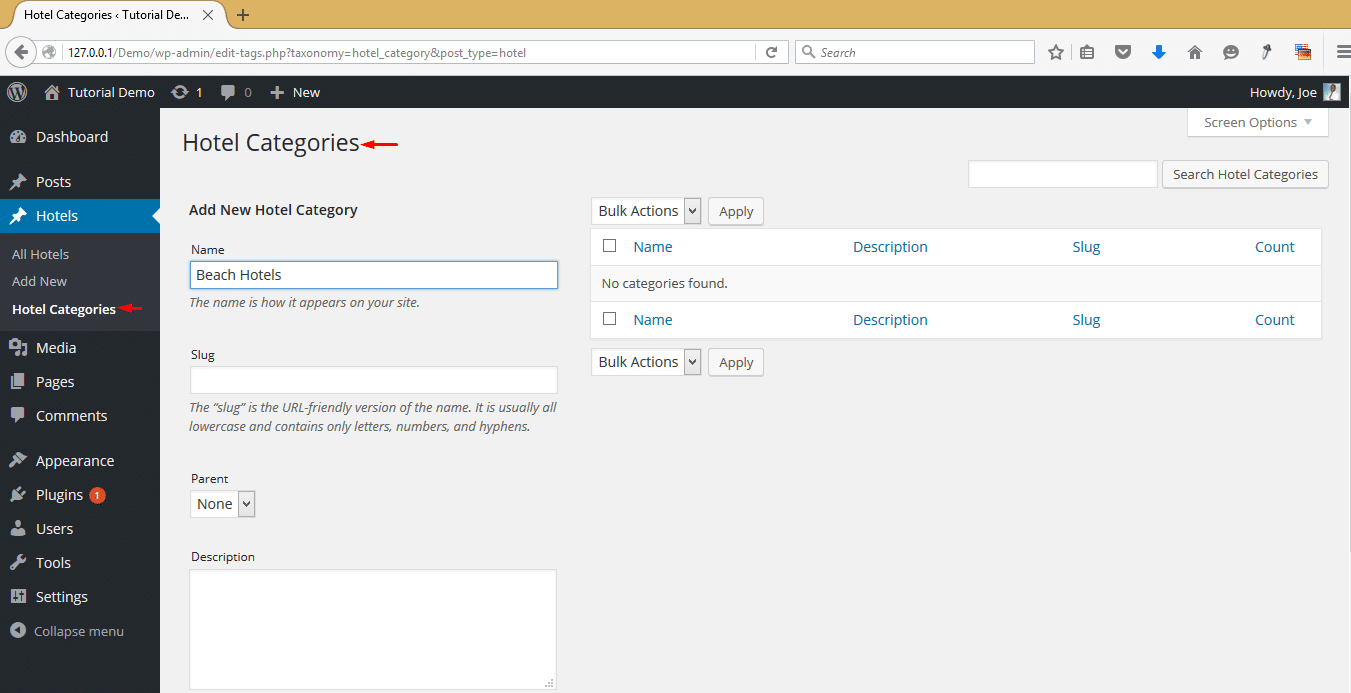
Let us now see the results on our site after adding this code to function.php. If you have followed correctly you should now see the hotels categories under the hotel's section. You can now click and add categories to organize your hotel's custom posts.
Step 4: Creating Custom Post Type Template to Display Content
Custom post type when displayed they take the single.php file as the default display. Nevertheless, we can custom page templates to display the custom posts types. To create a custom page template we need to always remember that custom post type template should be saved as single-{post_type}.php while the archive page should be saved as archive-{post_type}.php. We should now create a new file and add the following custom page template code and save it as single-hotel.php
<?php

/*
Template Name: Hotels
Description: Page template to display hotels custom post types
*/
get_header(); ?>
<div id="primary">
<div id="content" role="main">
<header> <?php the_title( '<h3>', '</h3>' ); ?> </header>
<?php
$hotelspost = array( 'post_type' => 'hotel', );

             $loop = new WP_Query( $hotelspost );
?>
<?php while ( $loop->have_posts() ) : $loop->the_post();?>
<article id="post-<?php the_ID(); ?>" <?php post_class(); ?>>
<div class="entry-content"><?php the_content(); ?></div>
</article>
<?php endwhile; ?>
</div>
</div>
<?php get_footer(); ?>
If you look at the code above you will note I created an array that defined the post type that should be passed in the WordPress loop. The rest of the code is the get header, get footer and default WordPress loop; you can also add more code to enhance the way the final custom post is displayed.
Step 5: Publishing and Testing Custom Post
After creating the custom post types then adding custom taxonomies and finally creating a custom post type page template, it’s time to see how it works. You can now go to add nee hotel and fill out the details as shown in the image below:
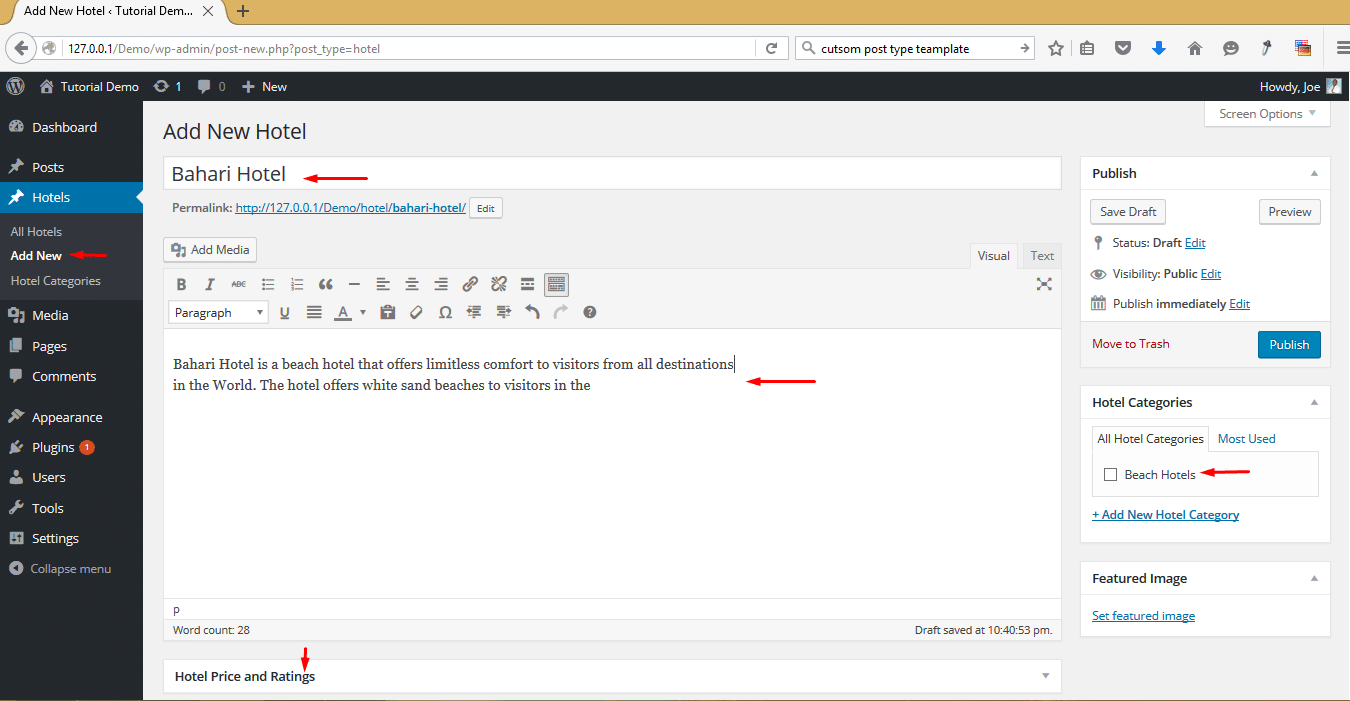
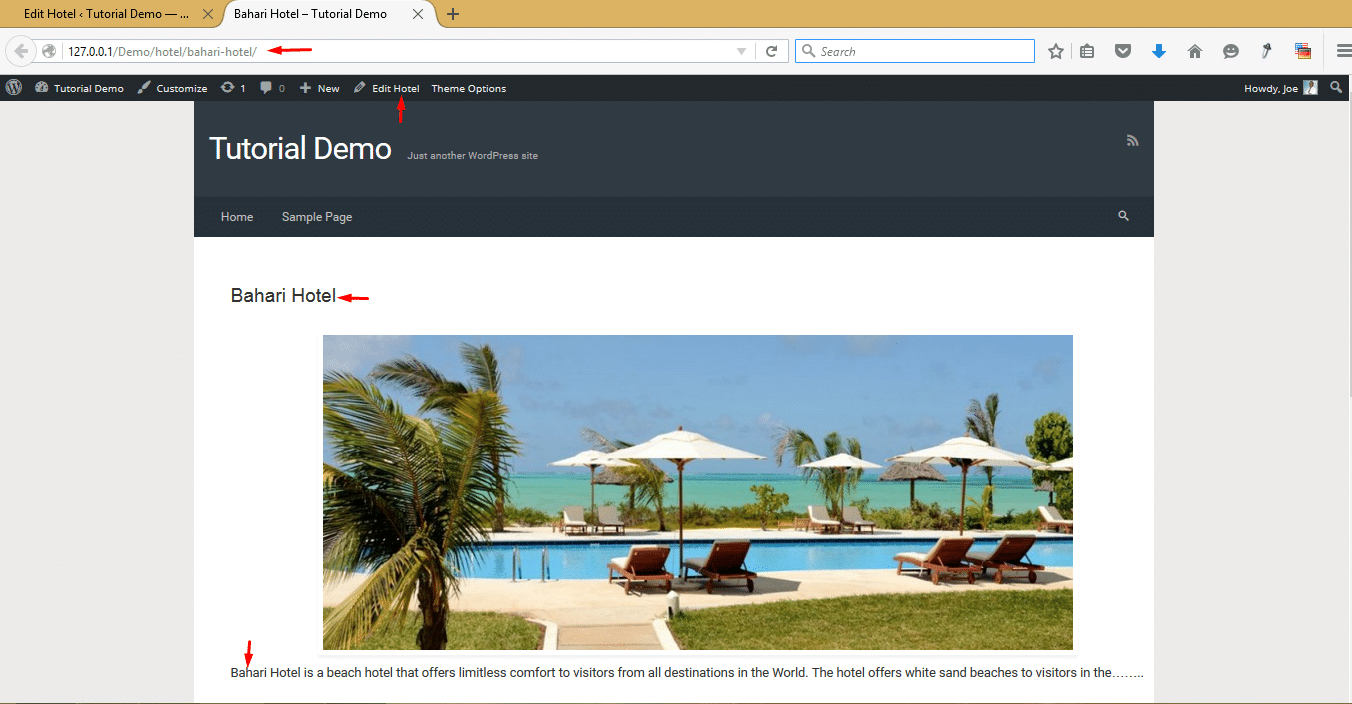
After adding this content and the image for the hotel, you can check to see how the custom post is displayed. As you can see I added the single-hotel.php to the evolve theme and WordPress has used it to display the custom post for hotels.
Conclusion
We have successfully learned how to build custom post type programmatically and we can also enhance this custom post by adding meta boxes that enhance how the content for each of the hotels is displayed. For this tutorial, the objective was to outline how to create custom post types programmatically in WordPress. To sum up what we have learned; a custom post type is not very different from default post_types but can be our path to innovation in WordPress.
We can use the custom post type to build content management systems that clients conceptualize. I hope this tutorial has helped you understand the basic tenets of creating custom post types in WordPress. If you have additional questions, comments or compliments do not hesitate to contact me via the comments section below.
Taxonomy in WordPress is used to group post whether it is custom post types or native post in groups. Categories and tags are the popular taxonomy options for WordPress users. If you really want to organize your content then you have to create custom taxonomies. You can create custom taxonomy
//create a custom taxonomy name
function create_cw_hierarchical_taxonomy() {
$labels = array(
‘name’ => _x( ‘Topics’, ‘taxonomy general name’ ),
‘singular_name’ => _x( ‘Topic’, ‘taxonomy singular name’ ),
‘search_items’ => __( ‘Search Topics’ ),
‘all_items’ => __( ‘All Topics’ ),
‘parent_item’ => __( ‘Parent Topic’ ),
‘parent_item_colon’ => __( ‘Parent Topic:’ ),
‘edit_item’ => __( ‘Edit Topic’ ),
‘update_item’ => __( ‘Update Topic’ ),
‘add_new_item’ => __( ‘Add New Topic’ ),
‘new_item_name’ => __( ‘New Topic Name’ ),
‘menu_name’ => __( ‘Topics’ ),
);
// taxonomy register
register_taxonomy(‘topics’,array(‘post’), array(
‘hierarchical’ => true,
‘labels’ => $labels,
‘show_ui’ => true,
‘show_admin_column’ => true,
‘query_var’ => true,
‘rewrite’ => array( ‘slug’ => ‘topic’ ),
));
}
Source : https://www.wpblog.com/create-custom-taxonomies-in-wordpress/
I have looked at a few tutorials available online, and this by far was the easiest to understand for a beginner WP developer! Thank you!
Also, is there another tutorial on custom archive pages?
Thanks for the tutorial. Really good effort! I will suggest combining all the codes and making it easy for people to copy them.
Cool tuto.
Its working.
Just want to ask something: if I create an online store (with custom post products), will the dada of product be incorporated in the original WordPress database?,
Or should I use an external database?
The file ‘single-hotel.php’ is created, and the contents are as follows:
<?php the_title( '’, ” ); ?>
‘hotel’, );
$loop = new WP_Query( $hotelspost );
?>
have_posts() ) : $loop->the_post();?>
<article id="post-” >
Otherwise, nothing new!
Thanks for the quick reply. Let me explain to you how to go about solving this problem. As you stated you have registered all the custom post type and you can see them from the WordPress dashboard but the posts cannot display in the frontend.
You should include the entire loop in your template. Ensure you create the $hotelspost array and call it in your query.
Everything works fine in the control panel. I can create a hotel, add categories, but I can not show the hotel. What can be the reason?
Hi Poul,
Thanks for your comment. To show the hotels you need to create a Custom Post Type Template and ensure you save it as: single-{post_type}.php example : if the post type is hotel, name it single-hotel.php. In this file also ensure you have this code :
$hotelspost = array( 'post_type' => 'hotel', );$loop = new WP_Query( $hotelspost );
If you are not successful, please let me know.