Installing WordPress on Localhost Xampp
Before we get started with WordPress installation, you need to have Xampp running on your computer. You can download Xampp from here, installation of Xampp is easy since should click on the .exe file and allow it to run.
You should follow the installation prompts like the installation procedure of any other software or.exe files. It is also important to note that Xampp utilizes the same port 80 and 443 as Skype and at times there is a conflict between the two.
You can solve this conflict by editing the Skype ports or editing Xampp settings to use different ports instead of ports 80 and 443. When you create the new ports for Xampp your localhost address will have to change to include the ports.
For example: if you have the new port as 80, your localhost address will be;
http://localhost:80 or http://127.0.0.1:80
If you want to run the Xampp server without editing the ports on Skype or Xampp you can run one at a time. This means you can switch off Skype to run the Apache server. Detailed Installation of Xampp is beyond the scope of this tutorial.
Installing WordPress on Xampp
Step 1: Start, Test Xampp Server and Create Site Folder
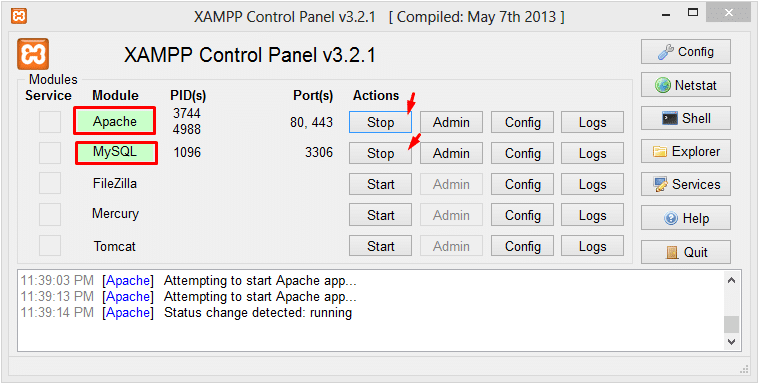
The first step when installing WordPress is to start your Xampp server, ensure you start Apache and MySQL. Click on the start button to start running the Apache server and MySQL database.
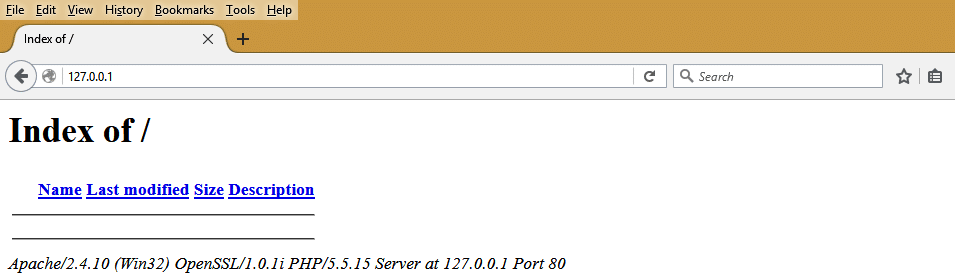
After starting the server we need to check from the browser if everything is running well. To check we should type on the browser localhost or 127.0.0.1. If the server is up and running well you should see the following screen:
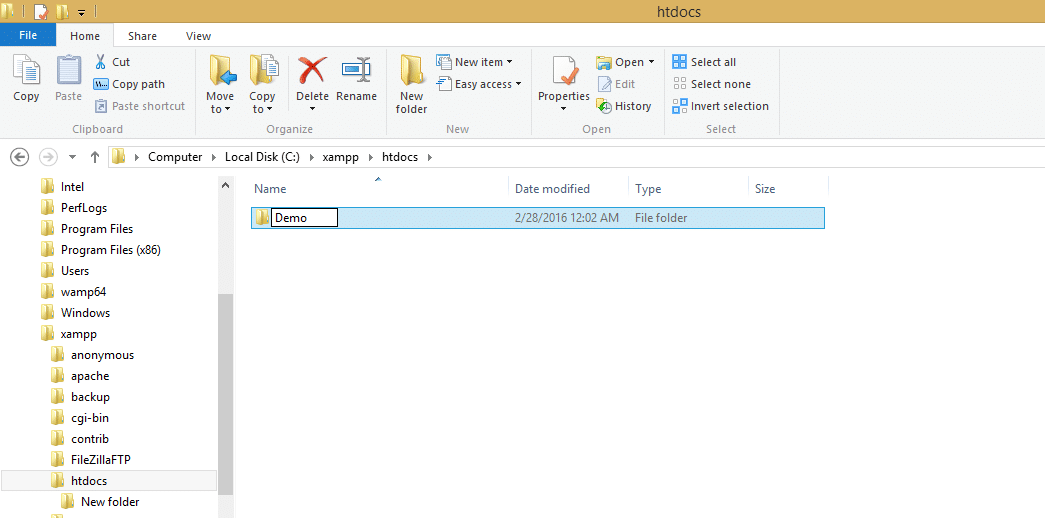
The second step is to create a site folder inside the htdocs folder. In the Xampp server the site lives in a folder named htdocs;
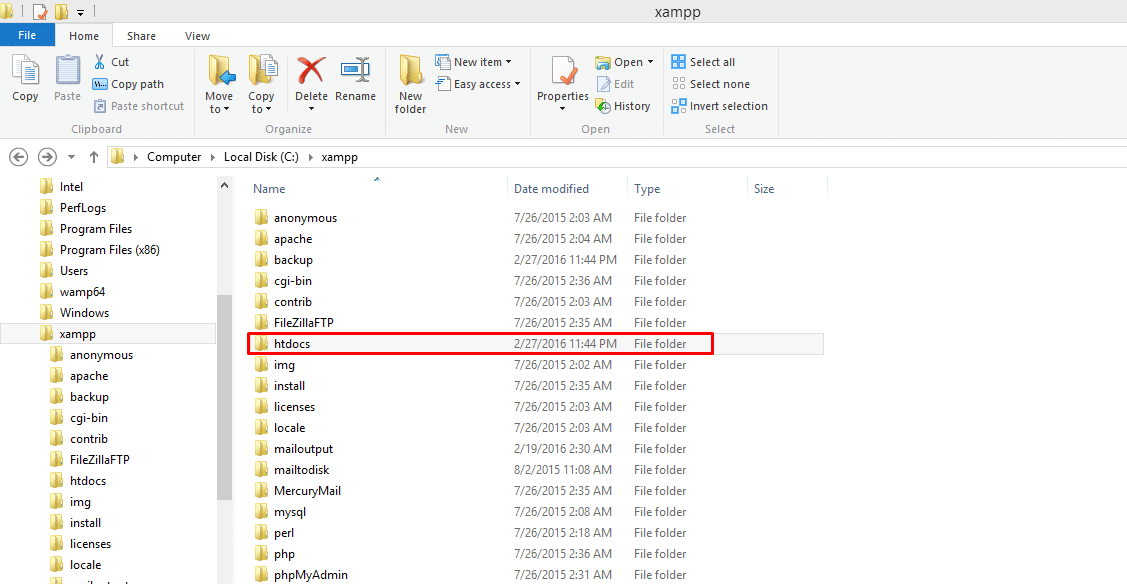
We will name our site Demo so we need to create the folder inside htdocs and name it ‘Demo’ then check on the browser to see if the folder is visible.
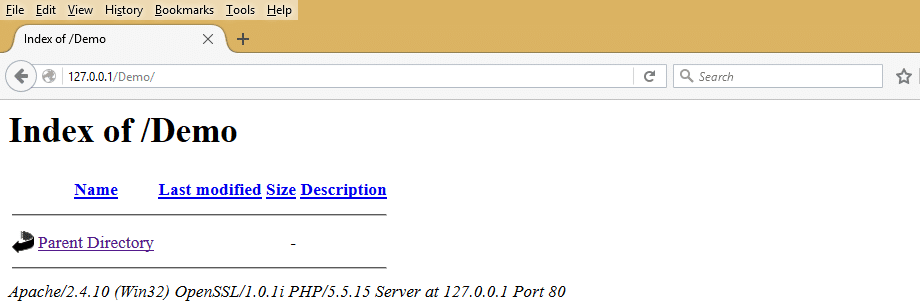
We now check on the browser to see where we will be installing WordPress.
Step 2: Download WordPress and Extra into the Site Folder
Download WordPress and extra it in the folder we created inside the htdocs folder. To download WordPress official site and click on the .zip download file to begin downloading WordPress.
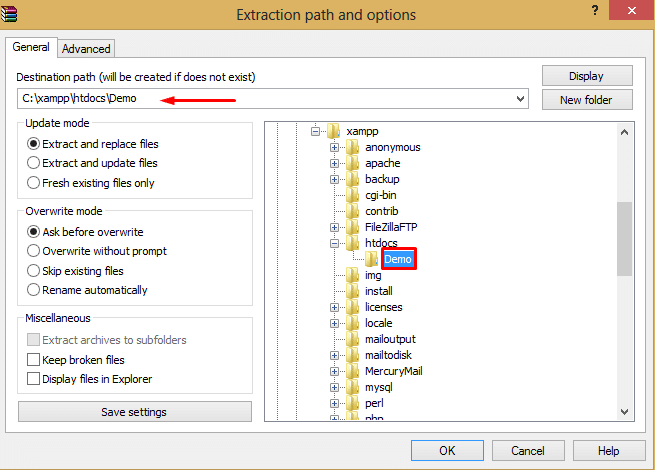
After downloading WordPress we should now extract it to our Demo folder and test it on the browser to see if it’s ready for installation.
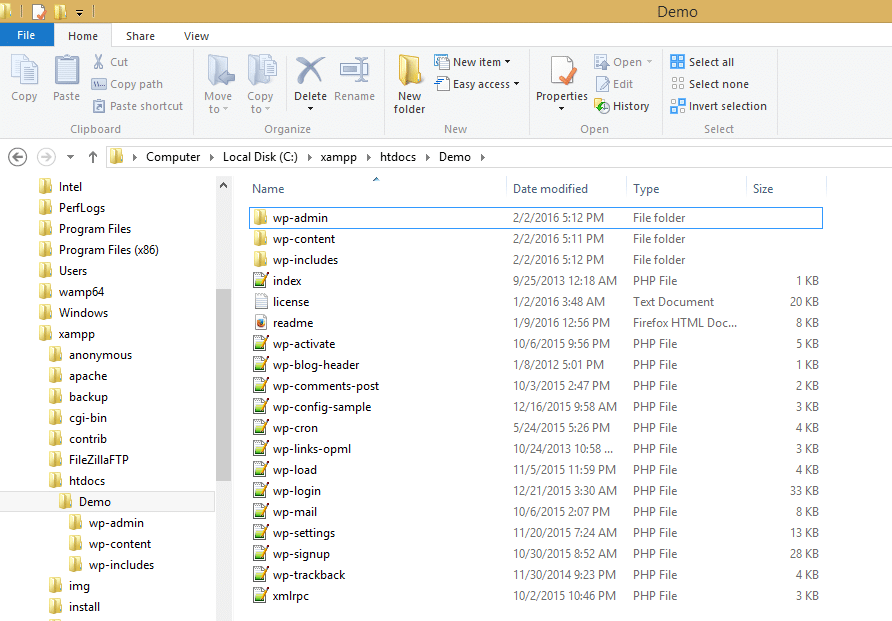
After extracting WordPress to the Demo folder we need to copy all the files from the WordPress folder to the Demo folder. After extracting and copying the file your demo folder should look like this;
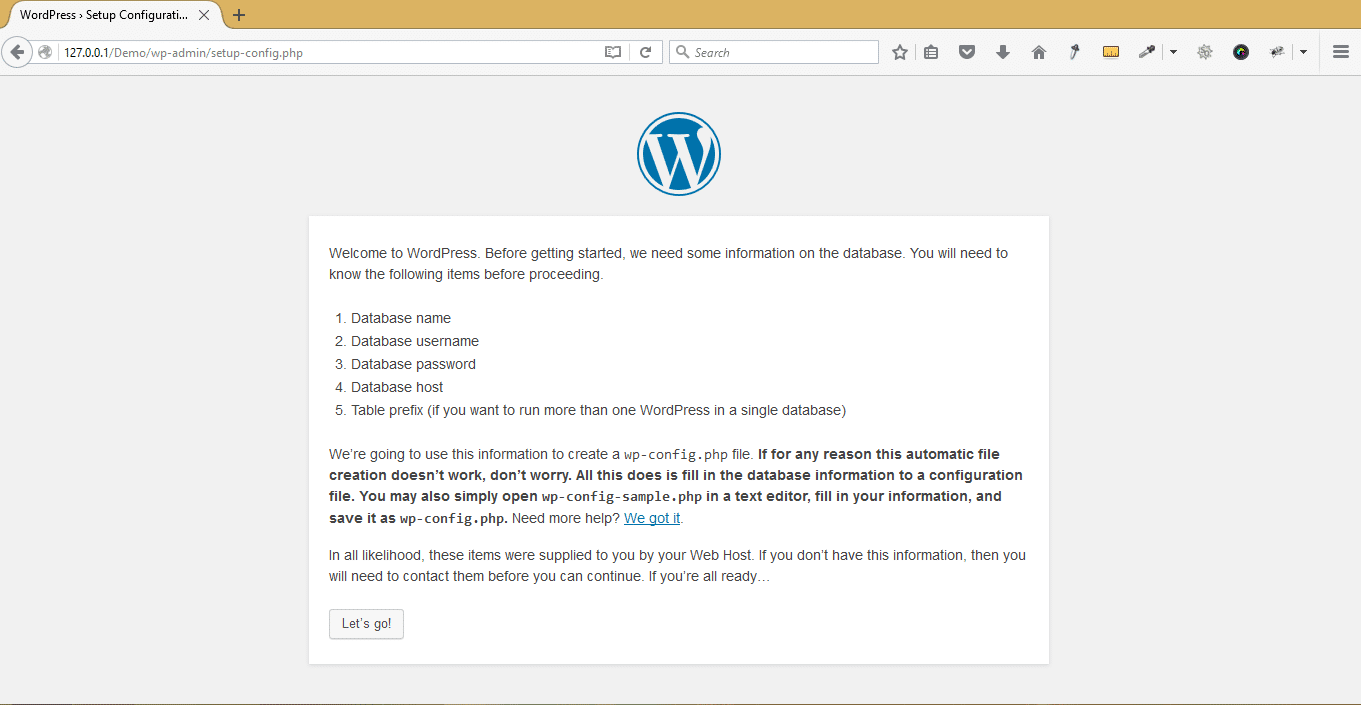
Now we should test the site on the browser to see if WordPress is ready for installation. If you have followed all the steps correctly, you should now see the WordPress setup page as shown below;
Step 3: Create WordPress Database
WordPress runs on MySQL database and we need to begin by creating the database before we start running a WordPress installation. You must understand that the database we are creating will be linked to WordPress in a file called wp-config.php. We will therefore require the following database details to setup WordPress successfully;
Database name – this is the name of the actual database
Database username – this is the name of the database user with Global Privileges
Database password – this is the password of the database
Database host – this is the host of our site, in this case, it is the localhost
To create the WordPress database we need to open Phpmyadmin and create the database, create a user then assign the user Global Privileges. To open Phpmyadmin we need to type on the browser;
http://127.0.0.1/phpmyadmin or http://localhost/phpmyadmin
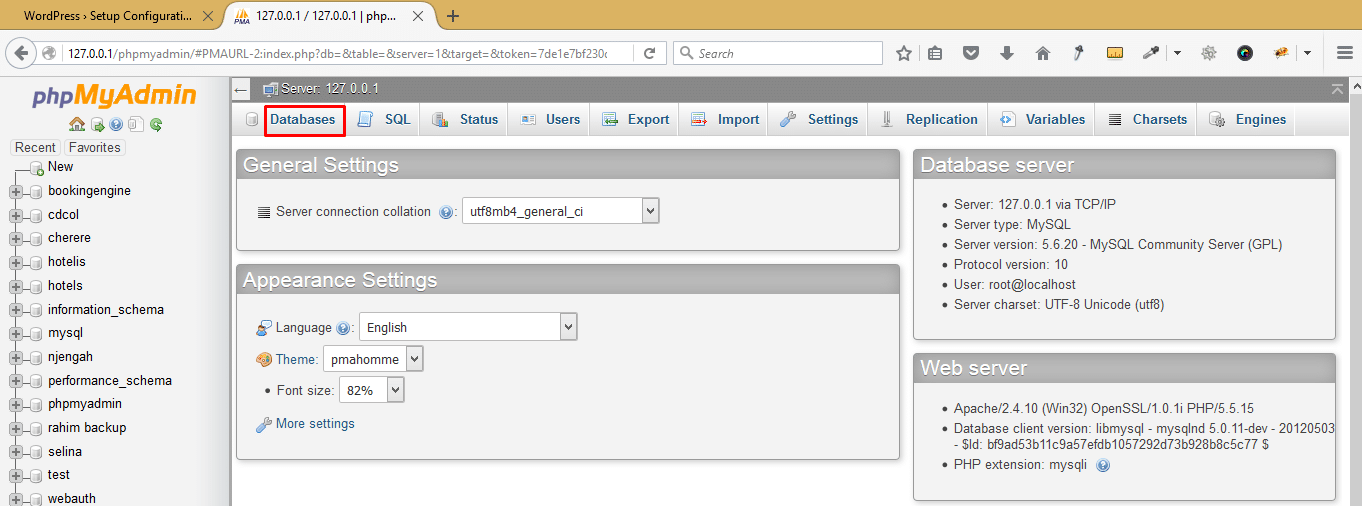
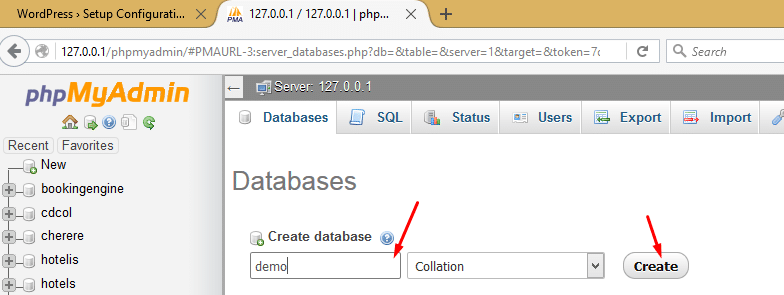
Click on the databases to begin creating the WordPress database and you should now fill out the name of your database and click create button;
After creating the database we need to create a user and allow the user to have all the privileges. To create the user first select the database you created then navigate to privileges on the top menu, under privileges click on add new user. After clicking on add user, you should now type in the database login details that include the name of the user, host, and the password of the database.
At this stage, you should remember the host should remain as localhost. This also applies when you create a database on hosting since localhost means within the same environment.
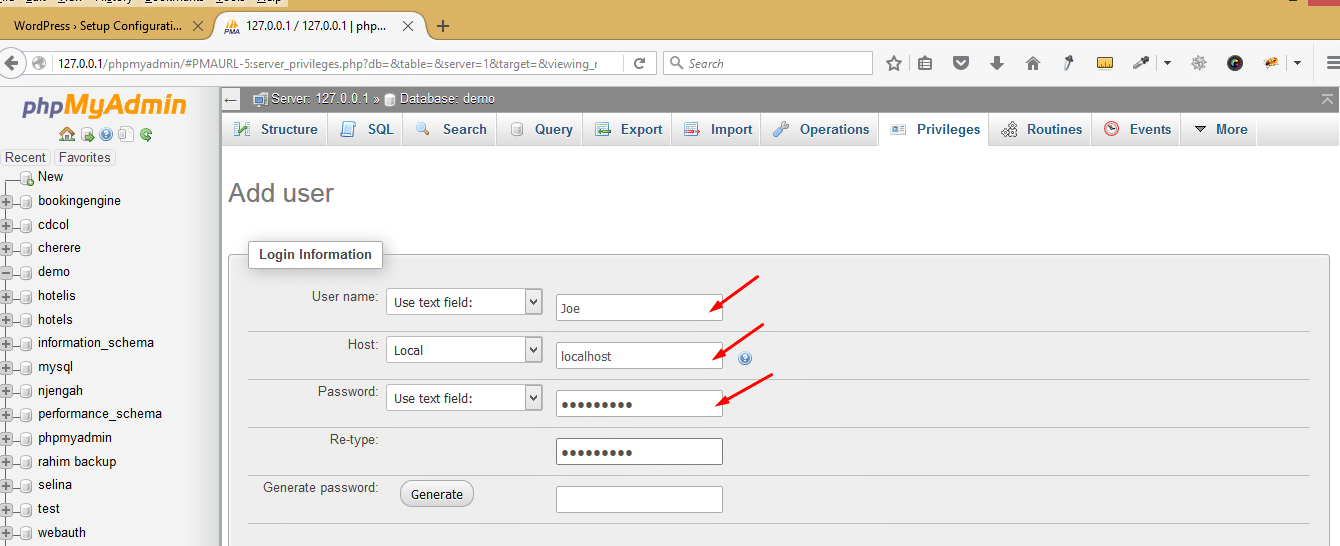
After creating the database user we now need to give the user all the privileges. Under the login details form, there is a section for allocating Global Privileges to the user. We need to check all and click on go to allocate all the privileges to the user we created.

Step 4: WordPress Installation
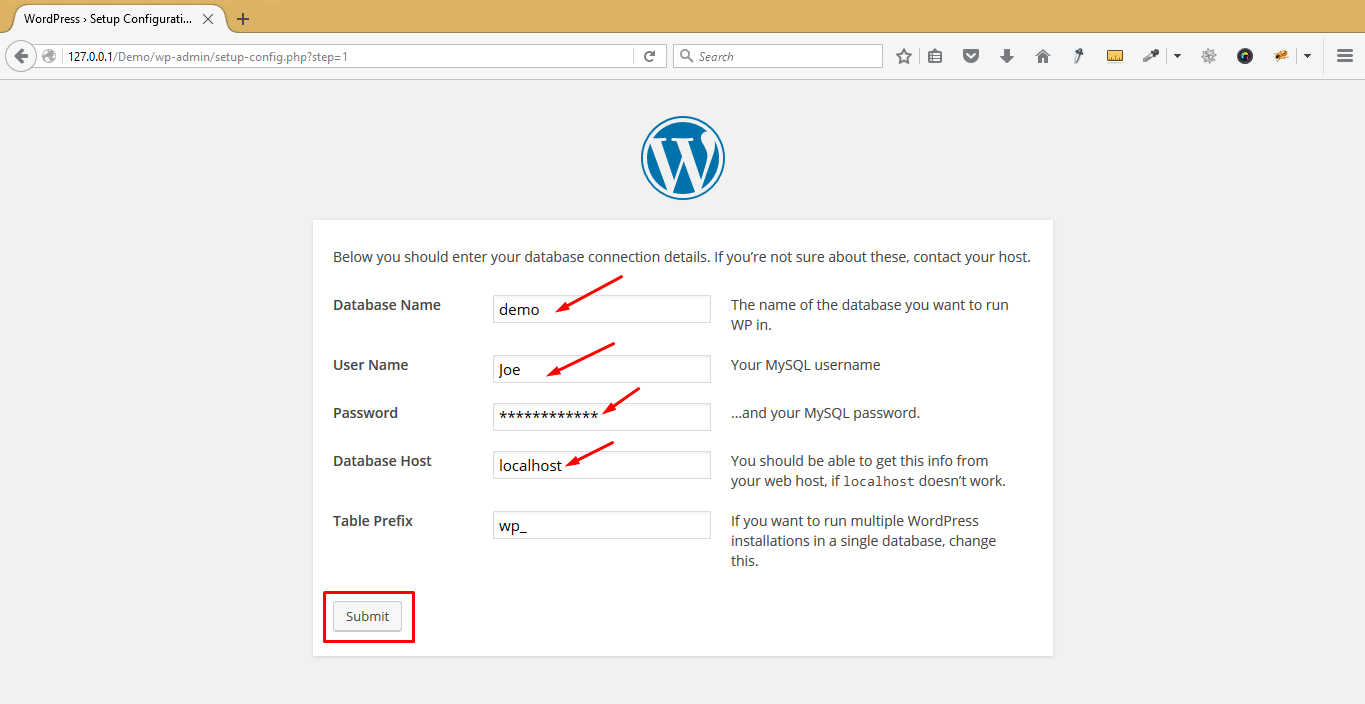
Now we need to go back to our WordPress setup and begin the installation since we now have the database details. Click on the let’s go button and fill in the name of the database, the name of the database user, and the password of the database as we had set up in the Phpmyadmin console.
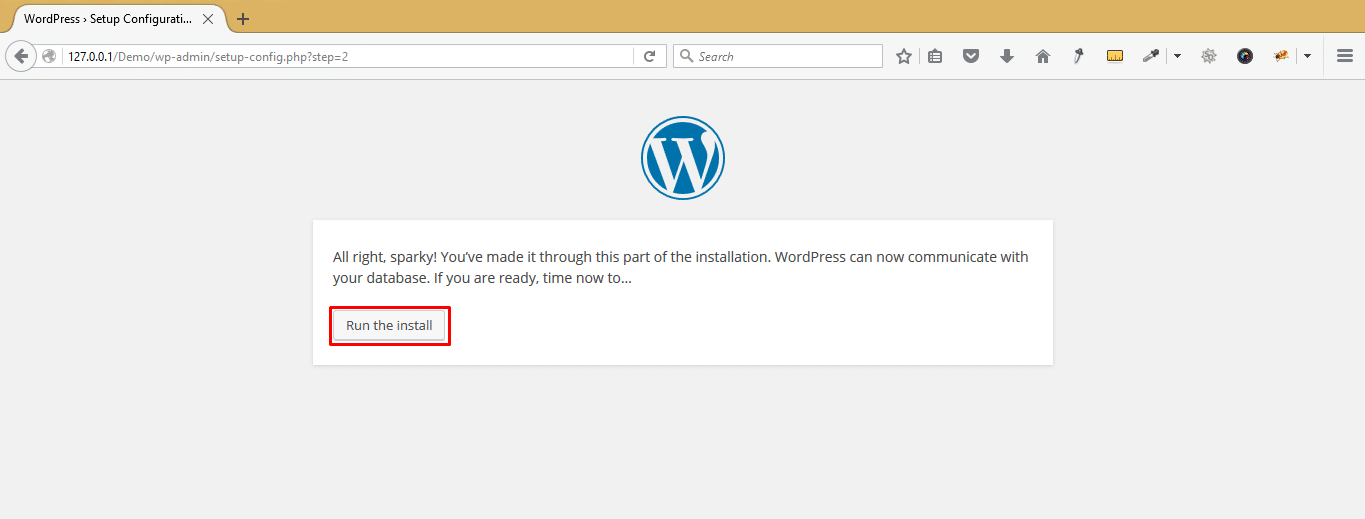
When you click on submit you should now see the screen that shows your database details are right and you can now run the WordPress installation. Click on run installation to begin the process of installing WordPress on your local Xampp server.
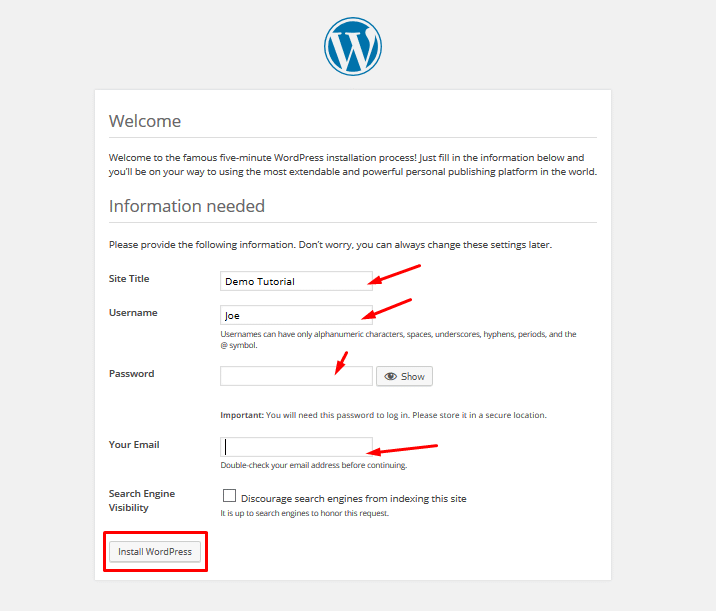
Now fill in the site’s details that include the site’s name, WordPress admin username, admin password, admin email, and whether you should discourage the search engines from indexing the site.
After filling in these details you should click on install WordPress and complete by logging in to test if your WordPress installation is successful.
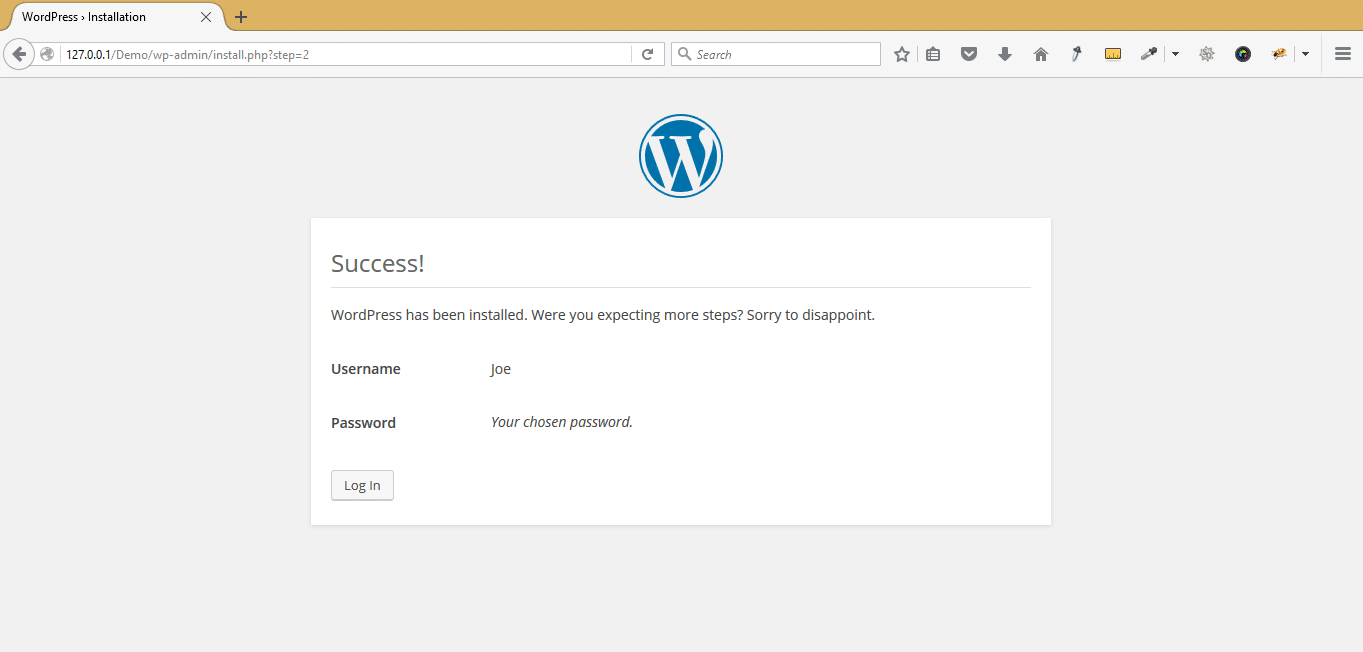
If you have followed all the steps correctly, you should see the screen showing you have successfully installed WordPress on your Xampp server.
Step 5: Test Your Installation and Check the wp-config.php file
After filling in the details above and clicking on installing WordPress, you should now be ready you log in and test your new WordPress installation as well as review the wp-config.php file to see what is in there.
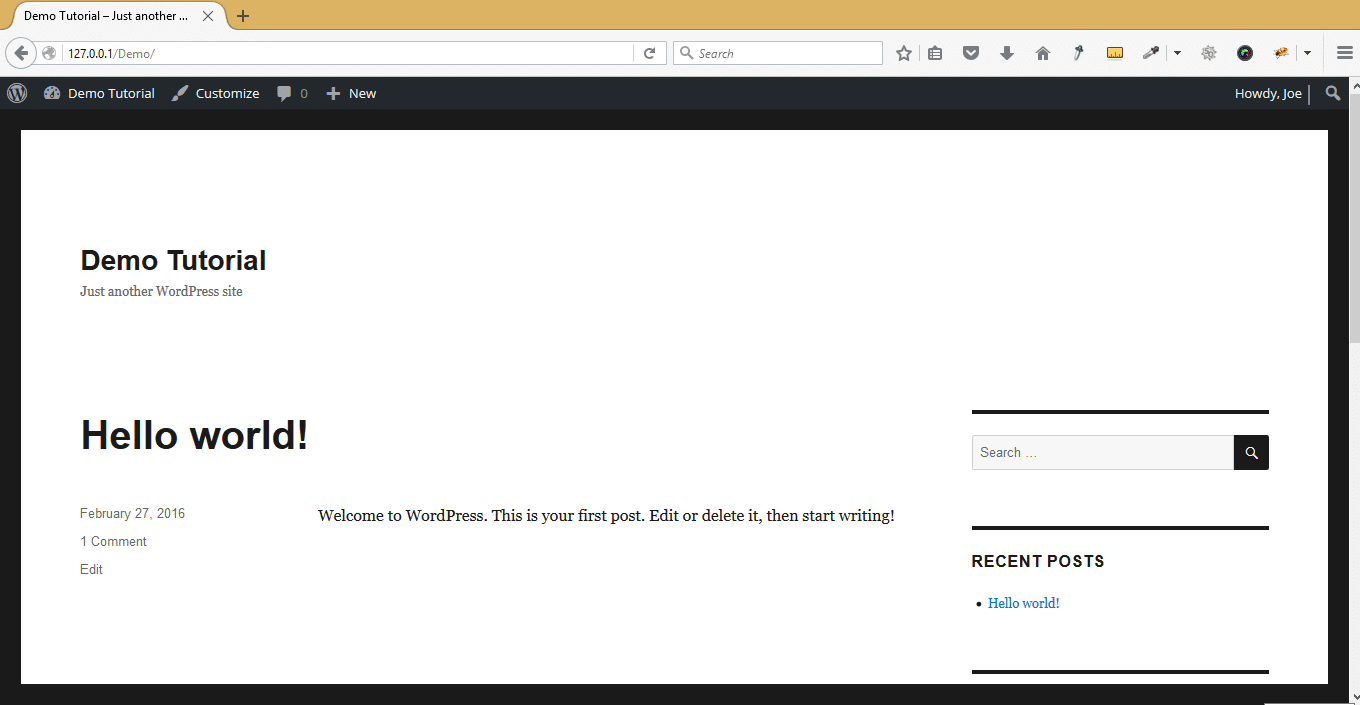
Let’s now log in and see how our site looks like:
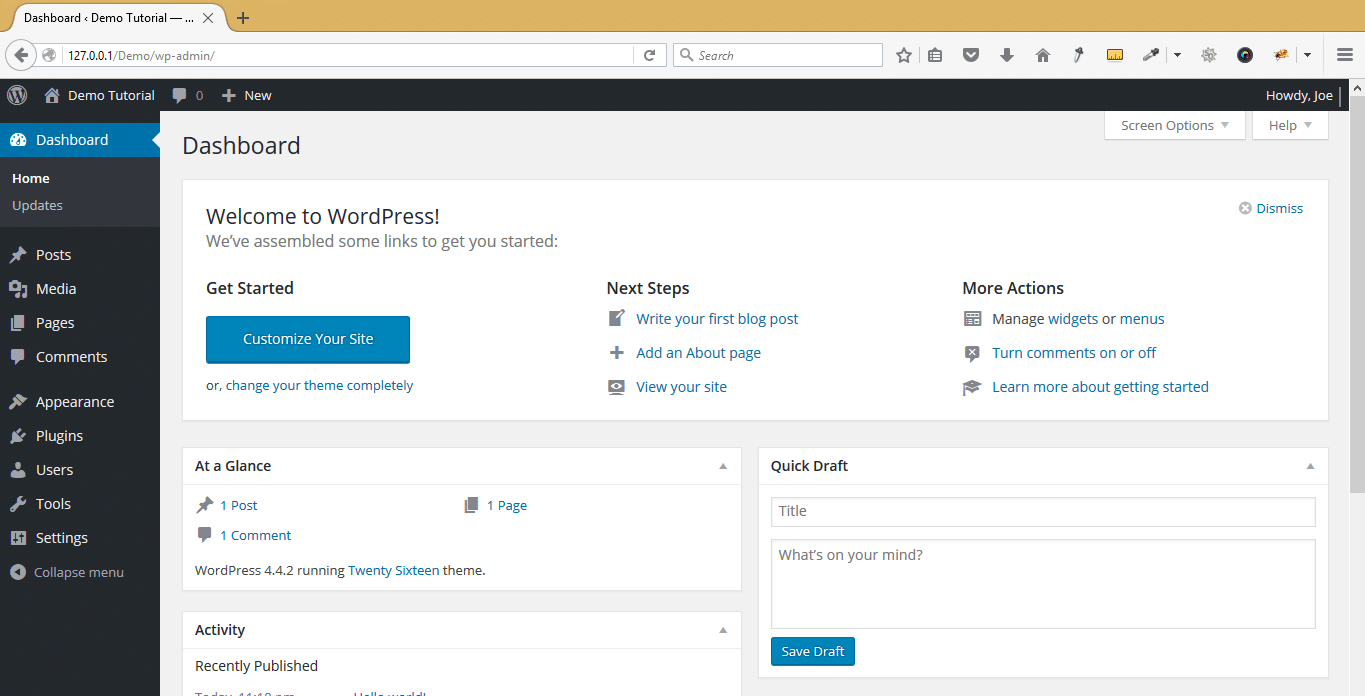
As you can see above we have successfully installed WordPress and login and everything works well. If we navigate to our htdocs folder then to the site’s folder – demo we can open and see the wp-config.php file.
This is a very important file since it is what links the WordPress application phase to the MySQL database. When you open this file you will see the following code:
// ** MySQL settings - ** //
/** The name of the database for WordPress */
define('DB_NAME', 'demo');
/** MySQL database username */
define('DB_USER', 'Joe');
/** MySQL database password */
define('DB_PASSWORD', 'demoXsite');
/** MySQL hostname */
define('DB_HOST', 'localhost');
/** Database Charset to use in creating database tables. */
define('DB_CHARSET', 'utf8mb4');
/** The Database Collate type. Don't change this if in doubt. */
define('DB_COLLATE', '');
If you carefully look at this code, it details the database we created in Phpmyadmin, the username, the password, and the host. These details are very important for any WordPress installation. As you will see in manual WordPress installation, these details are filled in to connect WordPress to the database that exists in the server.
If you would like this WordPress installation to serve as your development environment there is a small edit we need to carry out in the wp-config.php file to allow for error reporting.
By default when you install WordPress on your localhost the debugging mode will be turned off. You need to look for this line of code in wp-config.php and change the Boolean value to TRUE.
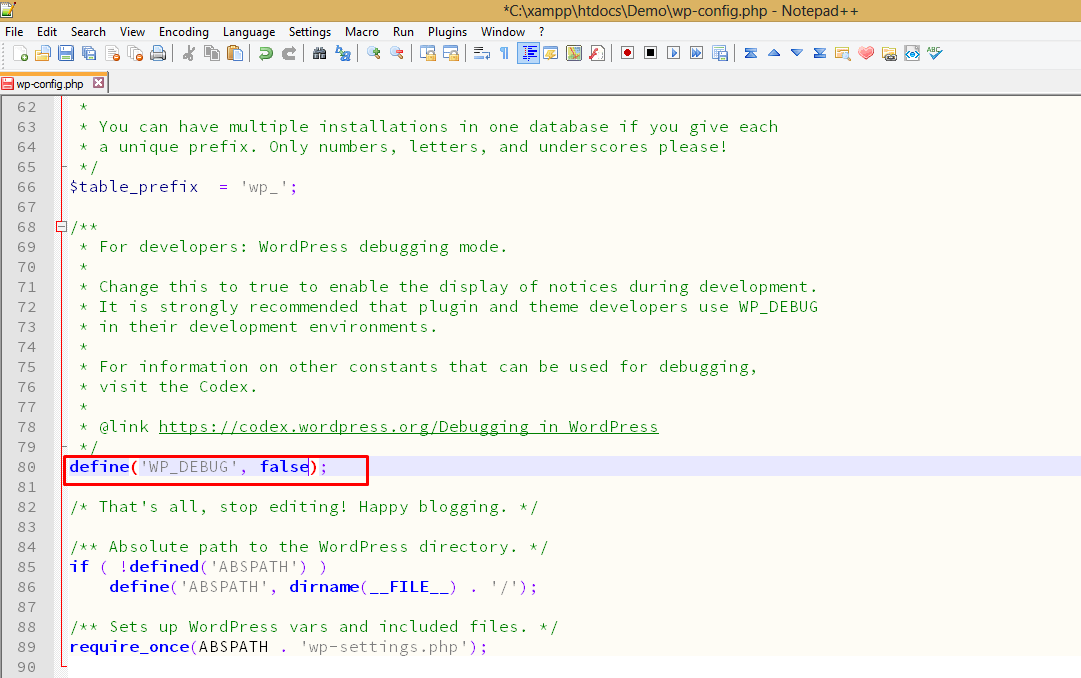
You should edit it to look as shown below;
define('WP_DEBUG', true);
Conclusion
We have successfully, installed WordPress on the localhost Xampp server
In the next tutorial, I will be installing WordPress on Wamp Server another popular desktop server. I hope this tutorial has guided you and enlightened you on how to install WordPress on localhost. If you have any questions, comments, compliments, or further inquiries please get in touch using the comments section below.
No Comments Yet