Introduction to WampServer
WampServer is another localhost desktop server that can be installed on both Mac and Windows. WampServer like Xampp allows you to create databases and install PHP and Perl applications. WampServer comprises Apache 2 server, PHP, MySQL database, and Phpmyadmin panel. This desktop server, therefore, provides an excellent environment for installing WordPress for testing and development.
Step 1: Installing WampServer on Windows

When the download is complete click on the file to install and follow all the prompts to install Wamp just like any other .exe file.
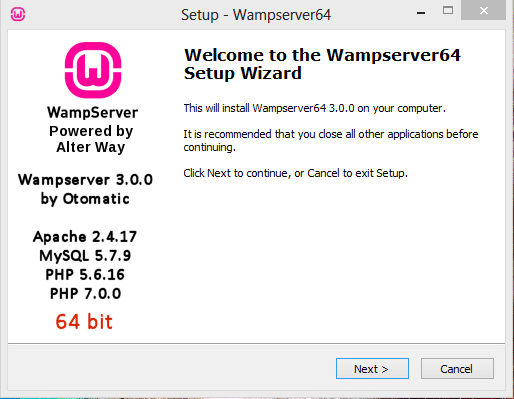
For a detailed installation of WampServer, you can check the WampServer forum. Detailed installation of WampServer is beyond the scope of this tutorial.
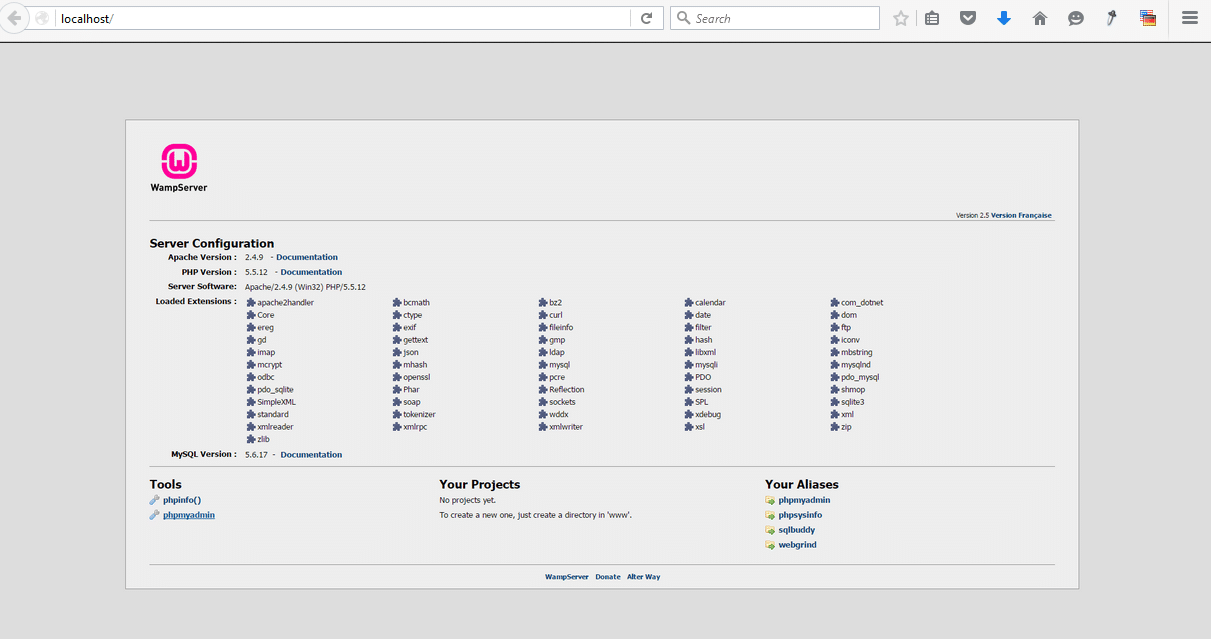
Starting and Testing WampServer
To start WampServer click on the icon that is on the desktop or system tray.

Click on the button to start all services and let’s see if the localhost is ready for installing WordPress. You should now check your localhost via browser to see if it is up and running:
Step 2: Download and Copy WordPress in Site Folder
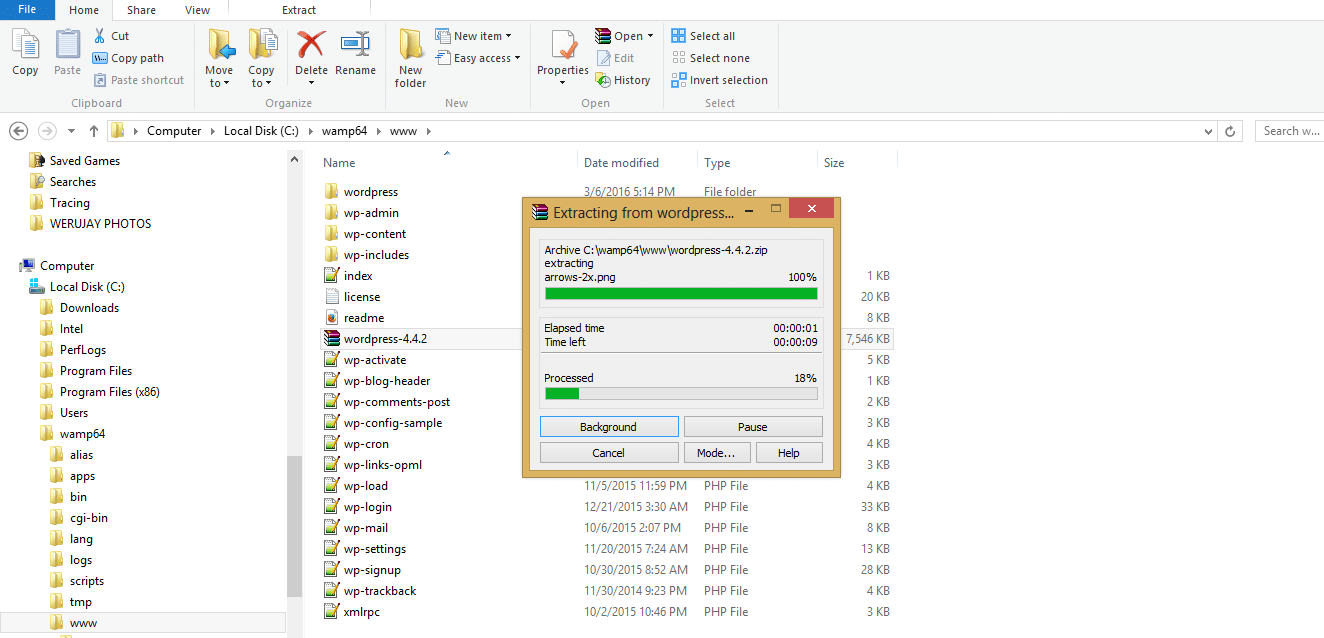
You should now download the latest version of WordPress and extract it in the root site folder. Unlike in Xampp WordPress installation where the site folder is htdocs in WampServer the site folder is www. Before you copy WordPress in that folder, you can delete all the other files in that folder.
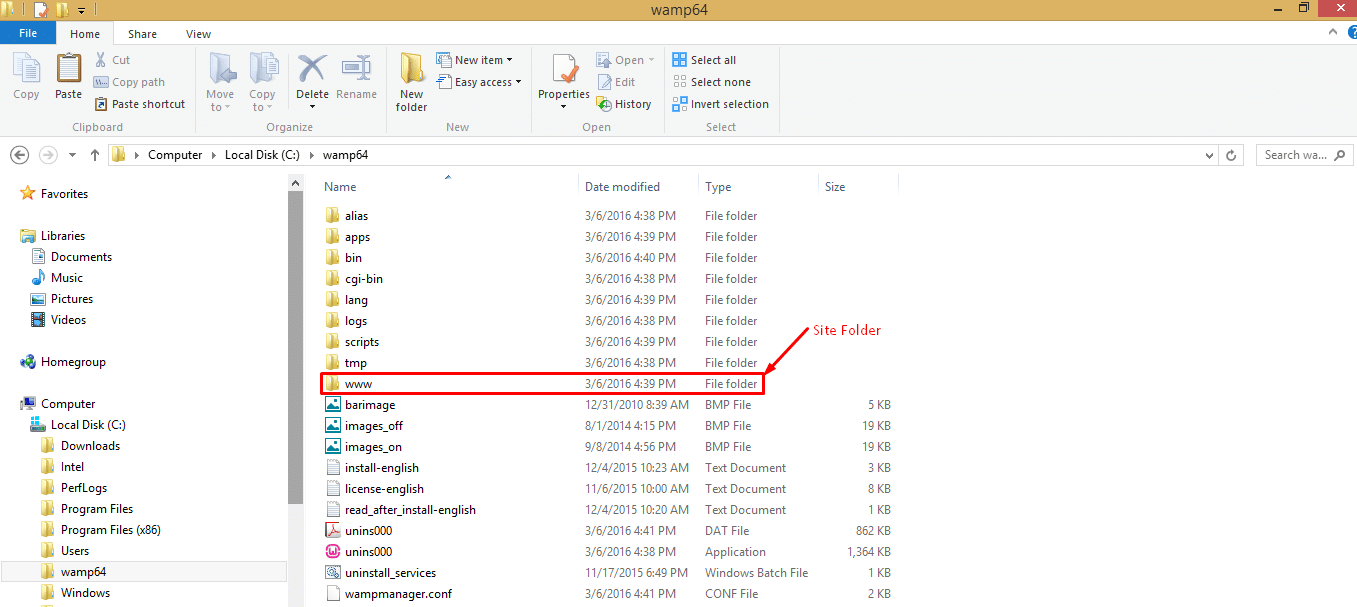
After deleting all the files in that folder, you should now copy and extract WordPress in that folder. Ensure all your WordPress files are copied to the main site directory. You should copy all the WordPress extracted files to the folder C:\wamp64\www
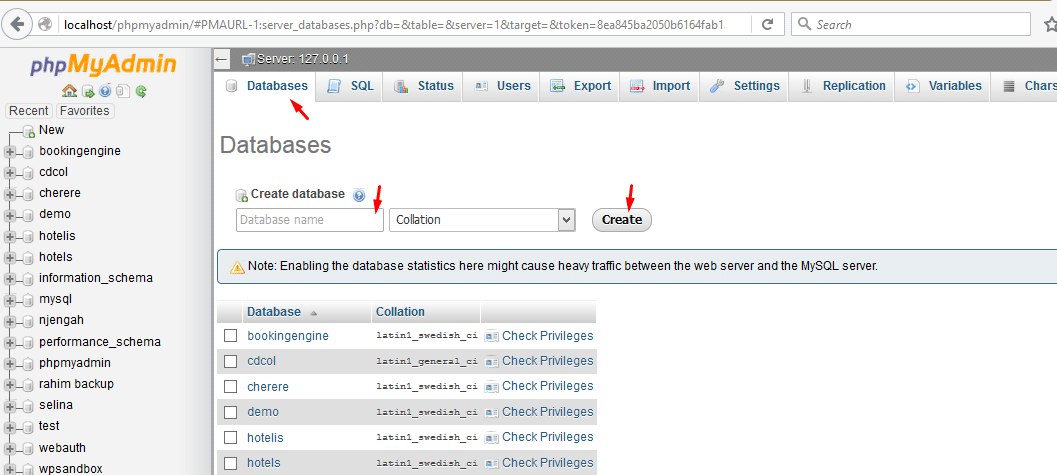
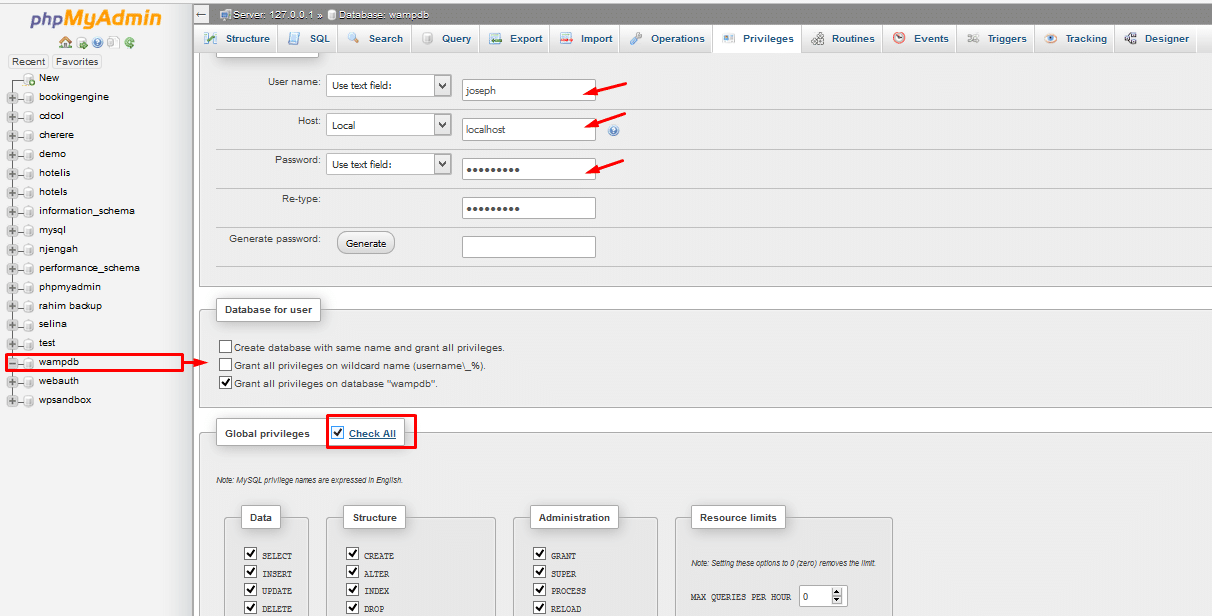
Step 3: Create Database, User, and Grant Global Privileges
We now need to create a database for installing WordPress. To create a database we need to run Phpmyadmin. Click on the system tray’s Phpmyadmin menu to start running Phpmyadmin. When it starts running click on databases to begin creating your database:
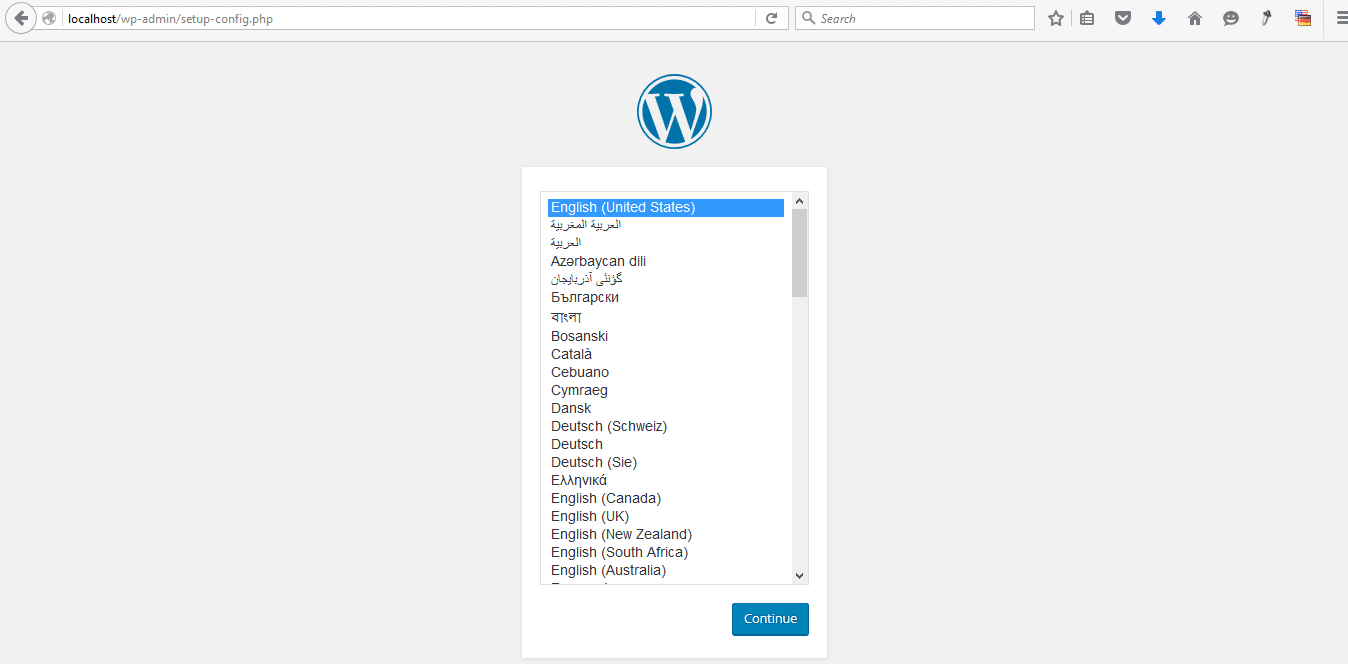
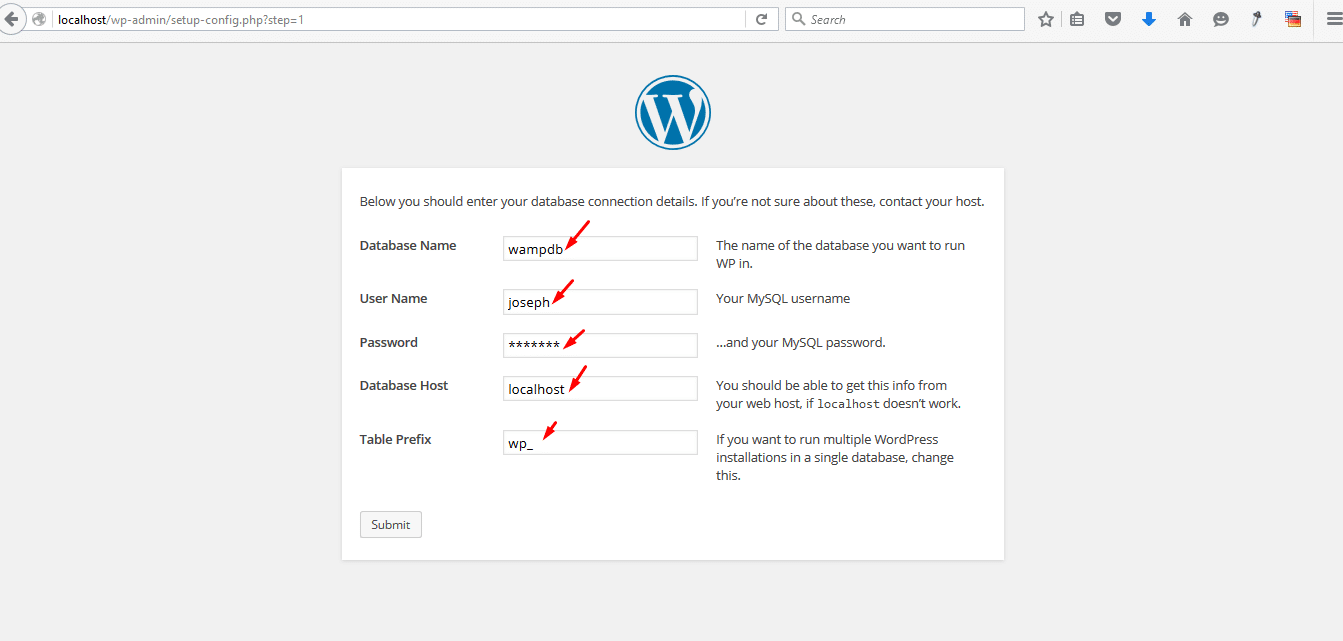
Step 4: Configure WordPress Database Settings
Now we need to run WordPress installation, go to your browser and now click on localhost and begin installing WordPress. Now you need to select the language to install WordPress and begin the process.
When you select the language you will now fill in the database details that include; database name, user name, database password, table prefix, and database host. Use the details you used to create the database in Phpmyadmin. You should fill in the details as follow:
Step 5: Run WordPress Installation
If you have done everything correctly, you should now run WordPress installation and fill in the WordPress site login details. Add the site title, WordPress username, password, and email for you to reset the password if it is lost.

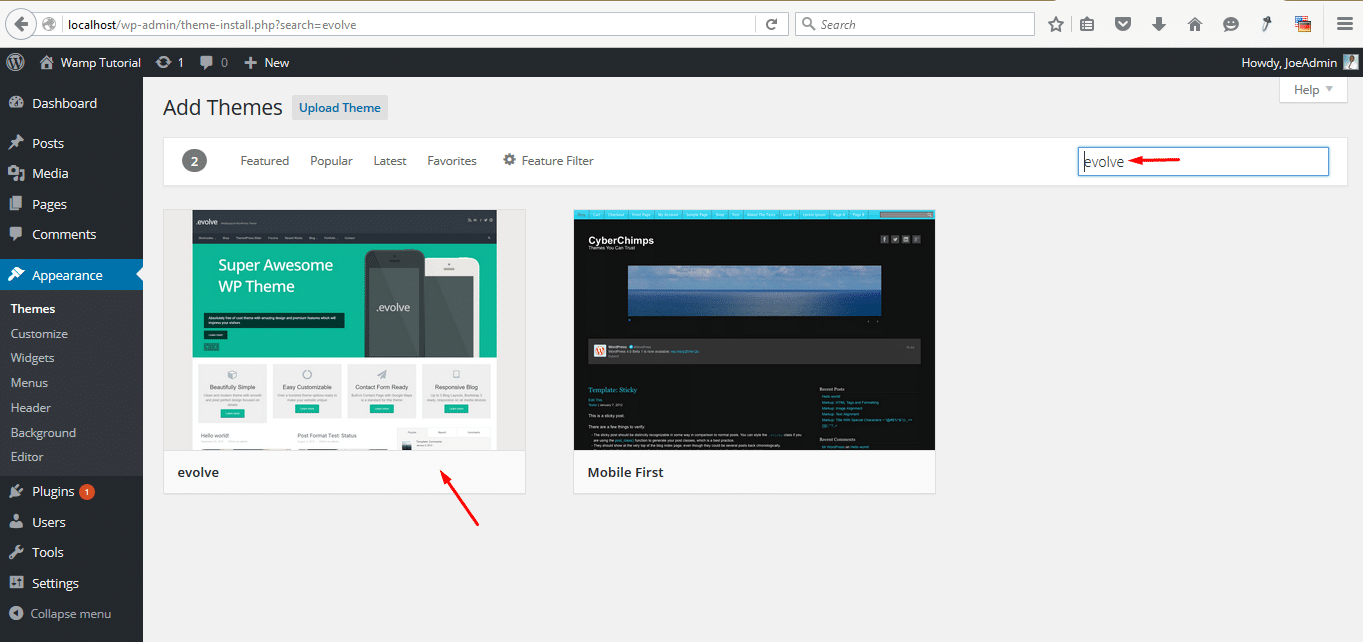
Step 6: Testing, Installing WordPress Theme
After installing WordPress on our localhost WampServer we should test to see it working properly. We will also be installing one of the best free responsive multipurpose WordPress themes – Evolve. You too can grab this great theme for free, download it from here. Log in to your newly installed WordPress site and go to Appearances > Themes > Add New In the search box search for evolve from WordPress repository and click on install this theme.
If you like this theme please rate it a 5 star on the WordPress repository here
Conclusion
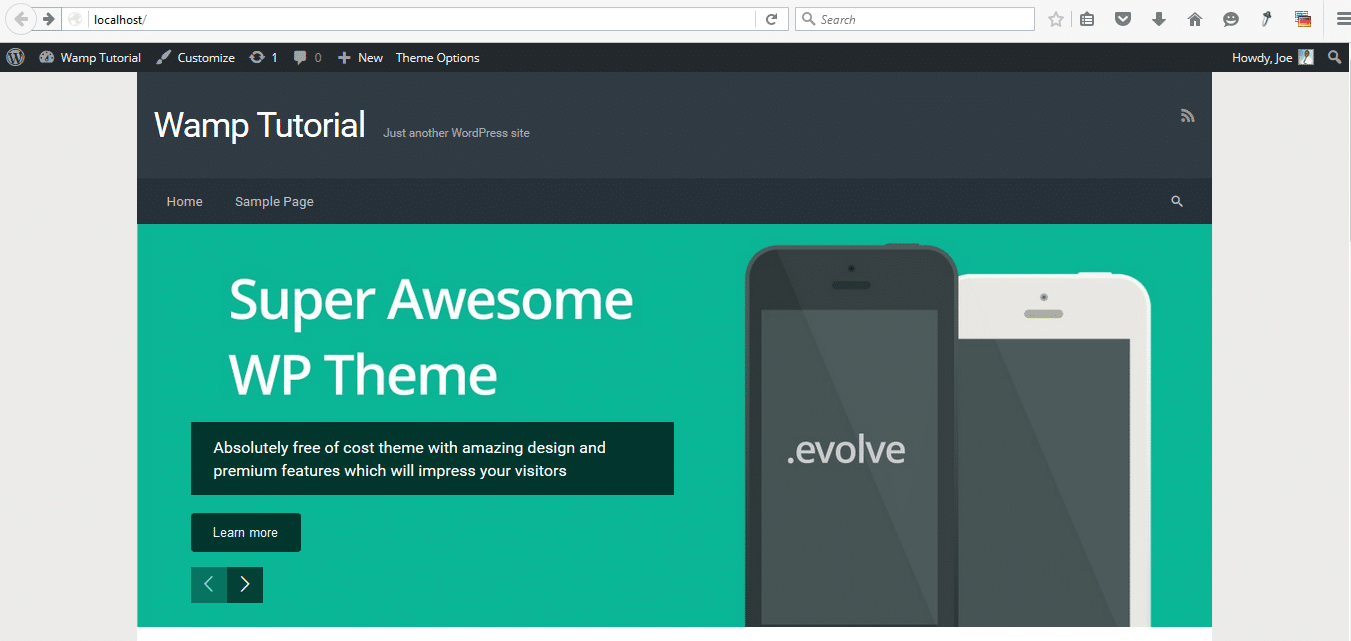
After creating a database, configuring the database, and running WordPress installation you should now have a functional WordPress installation on WampServer. If you have done all the steps correctly you should see the final site looking like this:
To sum up, installing WordPress on WampServer should never be a challenge, with this tutorial you can install WordPress on WampServer and get started with your WordPress development. I hope this tutorial is helpful. If you have additional questions, comments or compliments, do not hesitate to contact me via the comments section below.
Wow excellent guide. Thank you very much!
Hi, When installing Evolve+ on a local host version of wordpress, I got this error:
The uploaded file exceeds the upload_max_filesize directive in php.ini.
Any ideas please?