Guide to Creating WordPress XML Sitemaps and Submission
Adding an XML sitemap to your site is an important step towards improving your site’s ability to get indexed by search engines. Adding XML sitemaps is an easy task that will only require you a few minutes and you can now monitor how your site will be performing in the search engines. Whenever I want to know the number of my indexed pages on Google I always use the old trick; typing ‘site’ followed by a colon then the site URL. This allows me to quickly see the index status of my website. On the contrary, adding a sitemap allows me to have a detailed report on how the site has been indexed. There are two prerequisites to adding an XML sitemap to your website, the first is you need to have a Google Webmaster Tools account, Bing webmaster tools account, and secondly you need a plugin or a means of generating an XML sitemap.
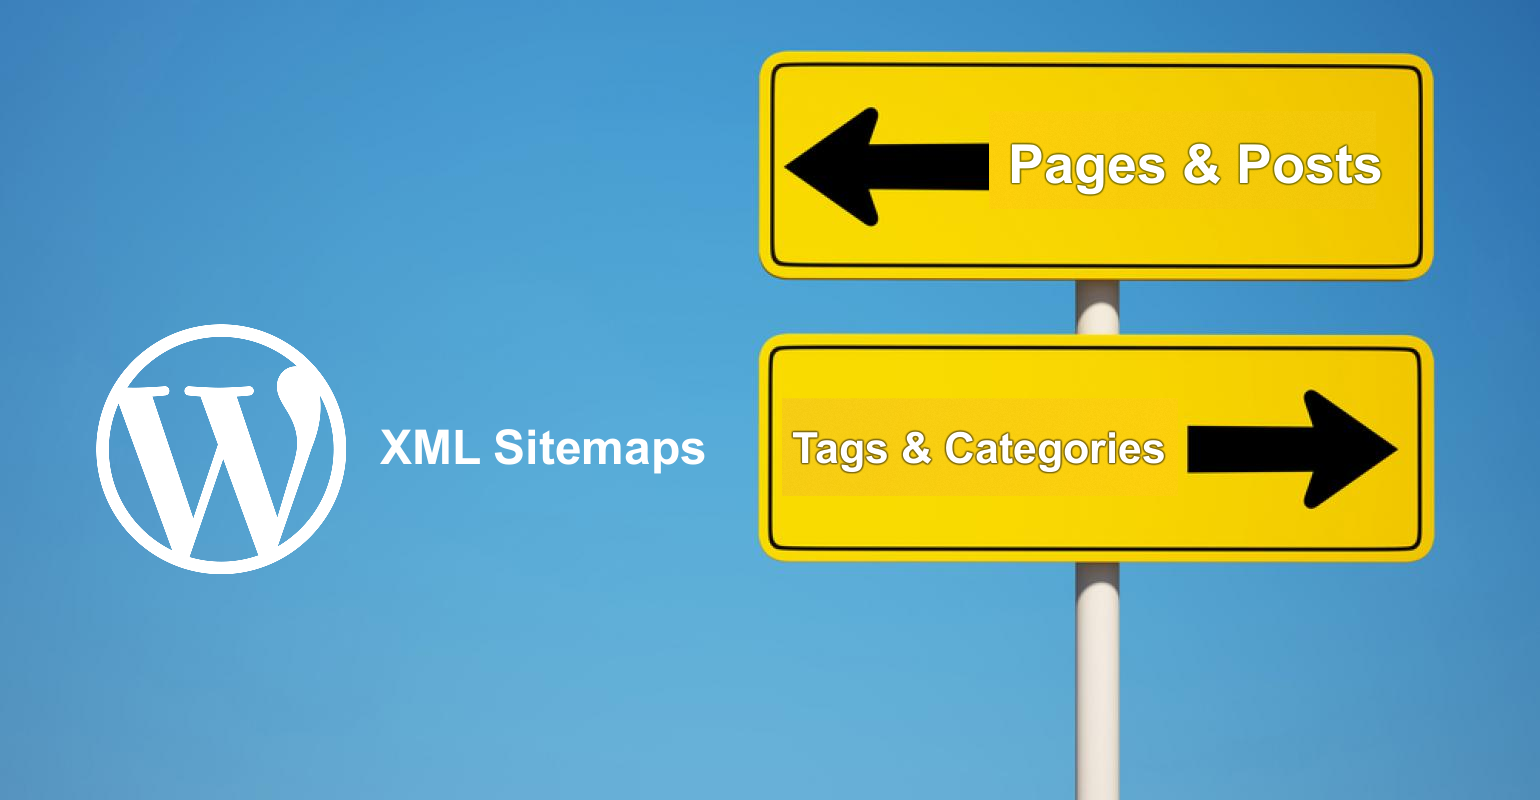
What is an XML Sitemap?
It helps to begin by understanding what an XML sitemap is and why we need to generate it and submit it to search engines. A sitemap is a mapped-out structure of your website that includes all the links to various pages on your site. XML sitemaps guide search engine spiders as they index your website and they showcase your content and eliminate the content you don’t want to be indexed by search engines.
In certain cases there may be duplicate content on your site that you don’t want to be indexed, a sitemap submitted to a search engine can guide them not to index the "noindex" pages. A simple sitemap can be a document that contains all the links on your site. The links can have additional information about each of the pages.
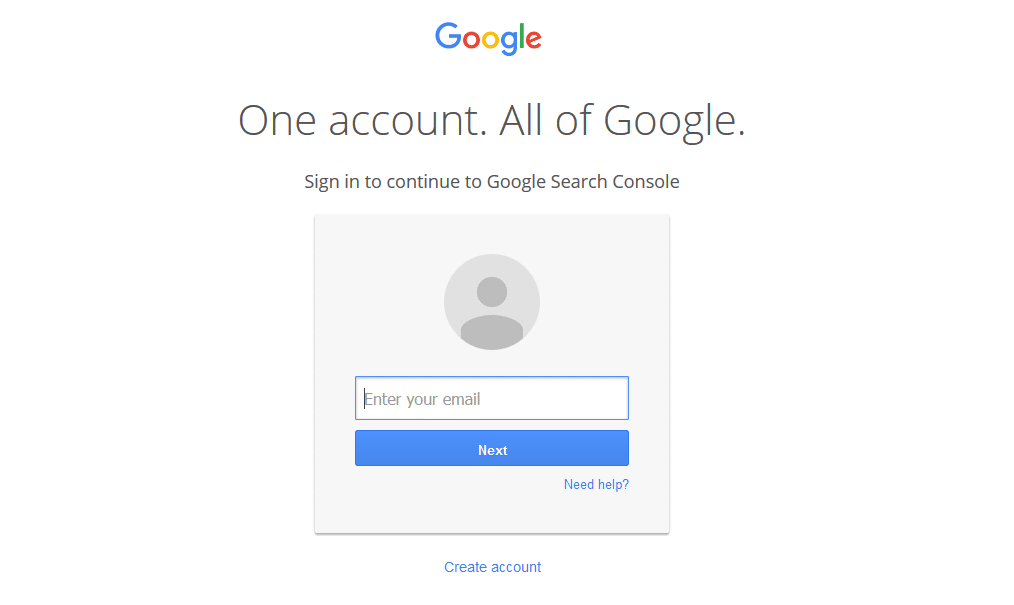
Sign up on Google and Bing Webmaster Tools
The first step is to sign up on Google Webmaster tools since you want to submit the sitemap to Google search engine after you have generated it. You should also sign up with Bing webmaster tools in order to submit the XML site map to Bing. To sign up with Google Webmaster Tools go to the Google Webmaster Console and simply use your Gmail account to sign in.
Generating XML Sitemaps
There are two ways you can generate XML sitemaps in WordPress, you can either choose to auto-generate your site map with plugins or you can generate the sitemaps manually. The latter is suitable for small sites but when you are dealing with a large site it is impossible to continually update your sitemap manually. This will not only become tedious work but will waste a significant amount of time.
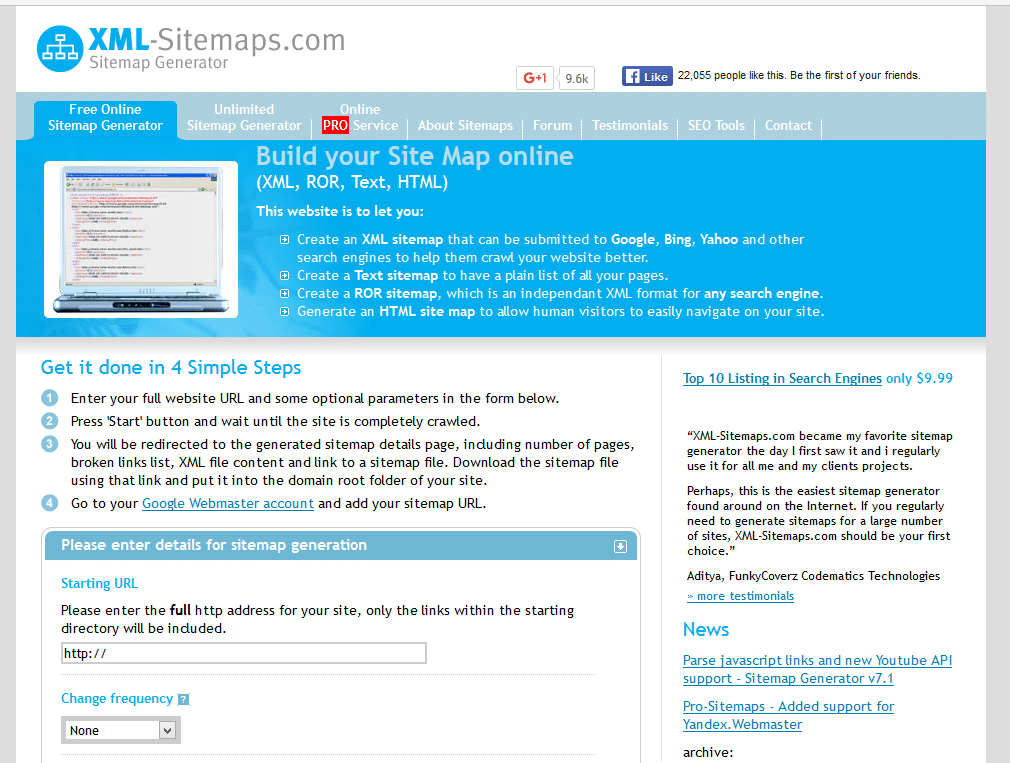
Generating XML sitemap manually
To generate an XML sitemap manually you should go to this site –XML Sitemaps
Enter your site URL, change frequency, last modification and priority then generate the sitemap. As earlier said, this approach is only suitable for a site that has few pages. For a large site, you require a means to auto-generate the site maps and there are two most useful WordPress plugins for this task.
Best XML Sitemap WordPress Plugins
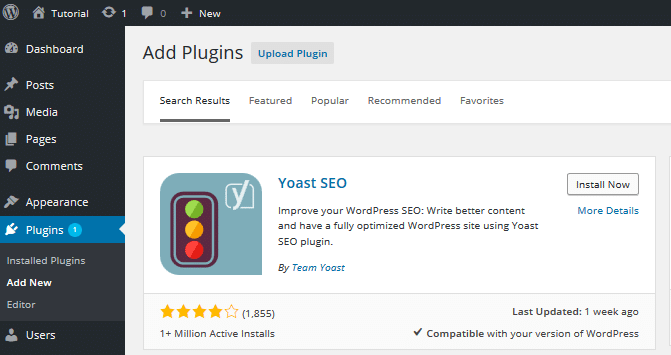
I would recommend two plugins as the best for generating an XML sitemap. These are the best plugins; Yoast SEO pluginand Google XML sitemaps plugin. I prefer the former since it has other SEO features that I tend to use for WordPress on-page optimization. You should avoid installing and activating both plugins since they are likely to generate plugin conflict.
I will use the Yoast SEO plugin for my demonstration of how to generate and submit an XML sitemap. For the purpose of this tutorial, I previously installed WordPress manually on a web host. I will use this demo site to illustrate how to generate a sitemap and submit it to search engines for indexing.
Generating XML sitemap with a Plugin
Generating an XML sitemap with a plugin is very easy since you just need to install the plugin and navigate to the settings; XML sitemaps then generate the sitemap, review it and submit it to search engines.
Step 1: Install Yoast SEO plugin to Generate Sitemap
Install and activate the Yoast SEO plugin just like any other plugin. When the plugin is active on your WordPress dashboard menu you will see the link to the settings of the Yoast Plugin.
Step 2: Generate the XML sitemap
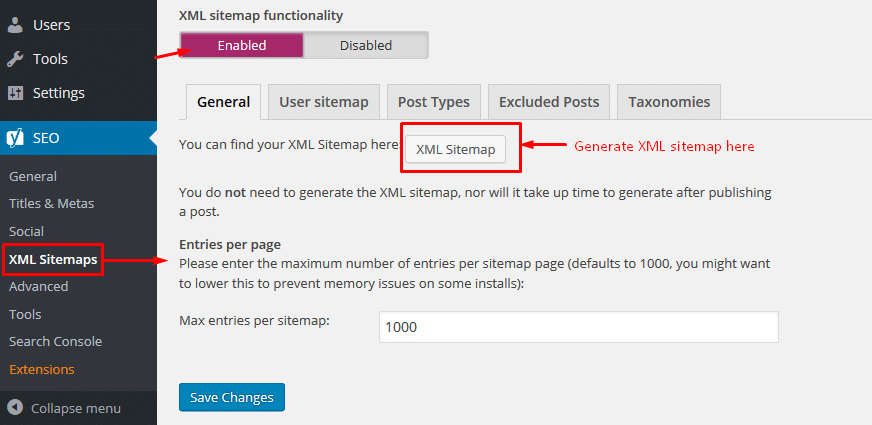
Under the Yoast SEO menu, click on the XML sitemaps menu and enable the sitemap feature. Under the General tab, you should now click on the button to view your sitemap which will be automatically generated by the plugin. You can edit the number of maximum entries you want to see in the sitemap, the user sitemap allows you to generate a sitemap for authors.
The post types tab allows you to set how you whether you want different posts types to be indexed. I always leave out the media since I do not want it on my sitemap. Finally, you can exclude posts, categories, and tags using the other tabs. After making your preferred sitemap changes, you should save the settings and now submit the sitemap to search engines.
Step 3: Reviewing the Sitemap
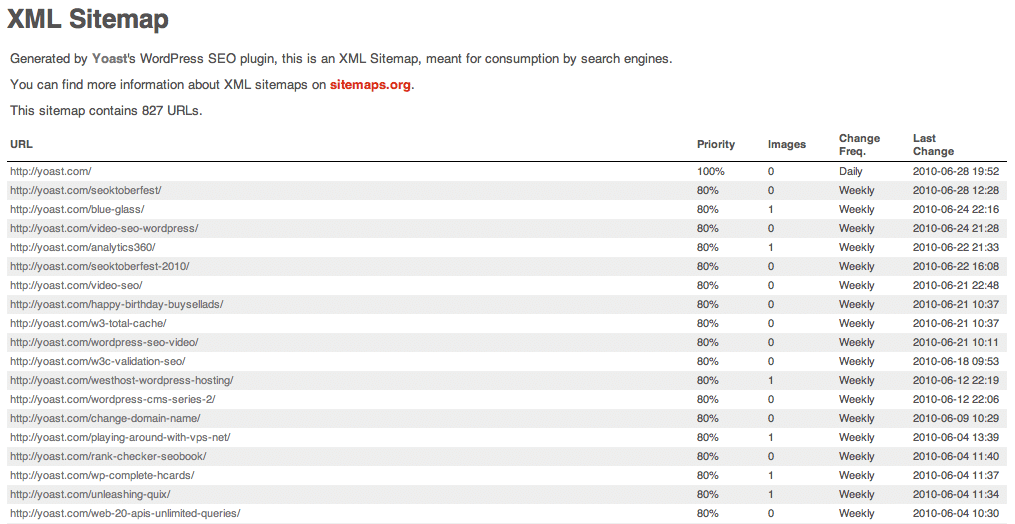
After you have set up the setting of your sitemap, it is time to review and see how your sitemap looks. This is important since it allows you to either add or eliminate some of the URLs that you do not want to be submitted to the search engines. Click on the XML sitemap button under the General tab and you will be redirected to your sitemap in a new tab. It should look something like this:
Submitting XML Sitemaps to Search Engines
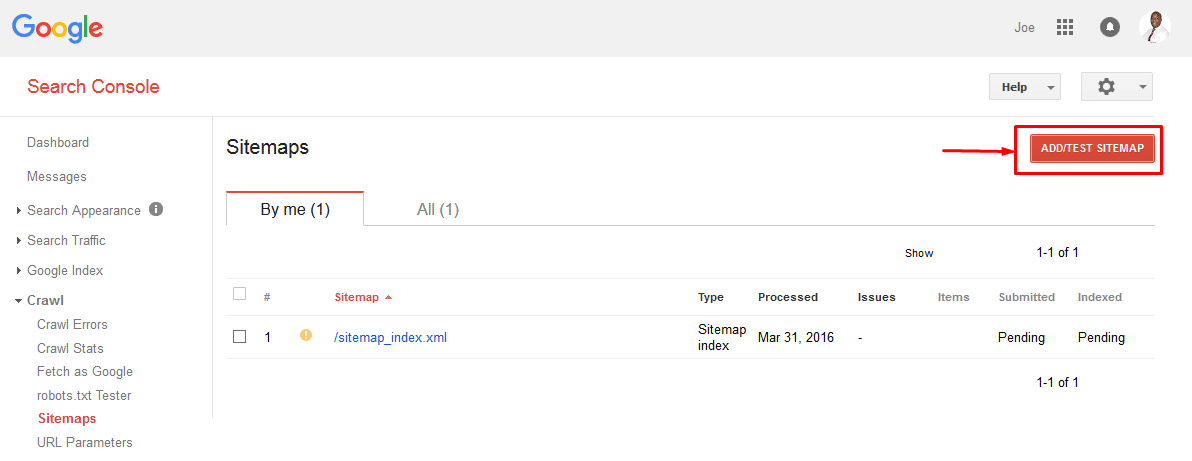
After generating XML sitemap, you should now log in to your Google Webmaster tools account or Bing webmaster tools and submit your sitemap for indexing. To submit on Google Webmaster tools, you need to first add the property then test your sitemap before submitting it. You should click on the property that is verified on Google Webmaster tools, then click on add sitemap button to test and add a sitemap.
Conclusion
We have successfully created an XML sitemap and submitted it to Google Search engines. You too can create a sitemap for your site and begin your journey to better search engine ranking. I hope this tutorial is helpful to you as you create your website’s sitemap. If you would like to share further comments, compliments or ask questions, feel free to leave a comment.
We use cookies on our website to give you the most relevant experience by remembering your preferences and repeat visits. By clicking “Accept”, you consent to the use of ALL the cookies.
This website uses cookies to improve your experience while you navigate through the website. Out of these, the cookies that are categorized as necessary are stored on your browser as they are essential for the working of basic functionalities of the website. We also use third-party cookies that help us analyze and understand how you use this website. These cookies will be stored in your browser only with your consent. You also have the option to opt-out of these cookies. But opting out of some of these cookies may affect your browsing experience.
Necessary cookies are absolutely essential for the website to function properly. This category only includes cookies that ensures basic functionalities and security features of the website. These cookies do not store any personal information.
Any cookies that may not be particularly necessary for the website to function and is used specifically to collect user personal data via analytics, ads, other embedded contents are termed as non-necessary cookies. It is mandatory to procure user consent prior to running these cookies on your website.

Hi Joe
I think using Yoast is better as online XML generator have limitation of 500 or 1000 pages.