Creating Menu
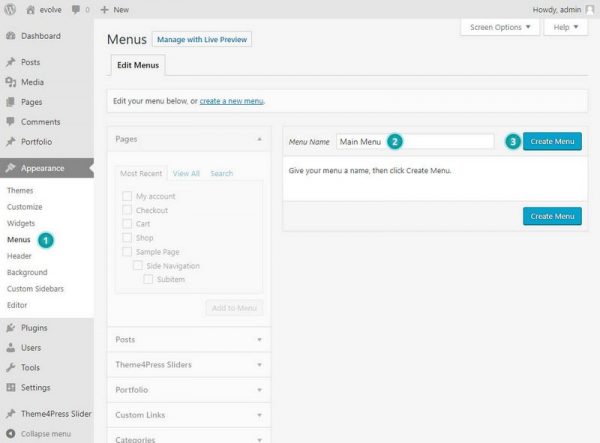
To set up menus for your site, go to Appearance Menus. Next, give your menu a name and click Create Menu.
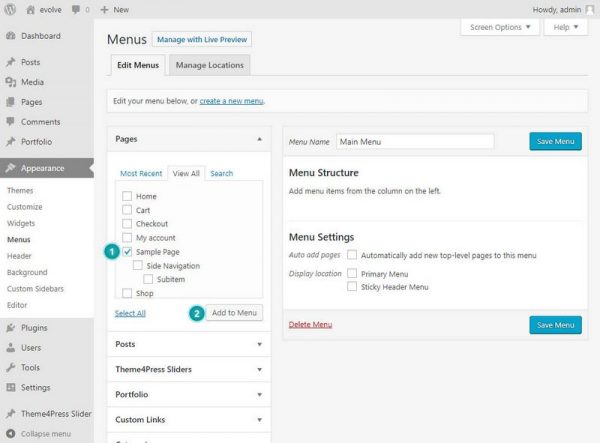
Now begin adding menu items to your menu. There are sections on the left-hand side that you can add menu items from. You can choose from pre-existing Pages, Posts, Categories, etc. You can also create custom links. Here’s how you would add a Page, for example.
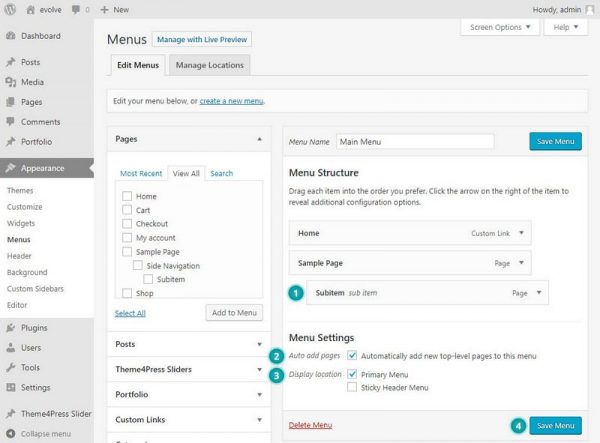
You will then see those Pages added to your menu. Posts, Categories, and other links work similarly. By drag & drop, you can rearrange the menu items, move items to be sub-items, etc - 1.
At the bottom of the menu, you’ll see an option to add top-level pages to the menu automatically - 2. That means that when you create a new page, it will automatically get inserted into your menu as a menu item.
Once you finish creating menu items you need to assign your menu to a location so it will be visible. At the bottom of the menu, you will see checkboxes for locations to place the menu - 3. Remember to click the Save Menu button when you’re done - 4.
Menu Layout
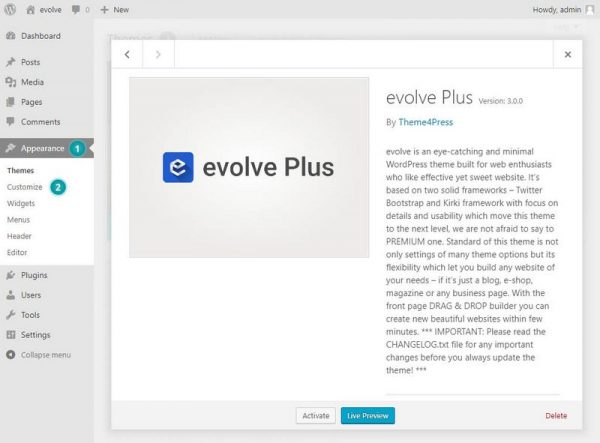
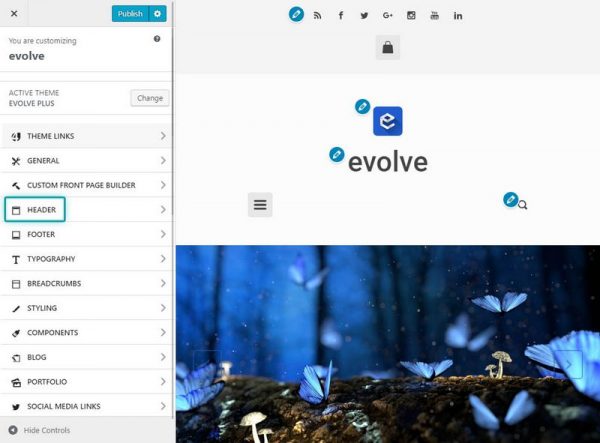
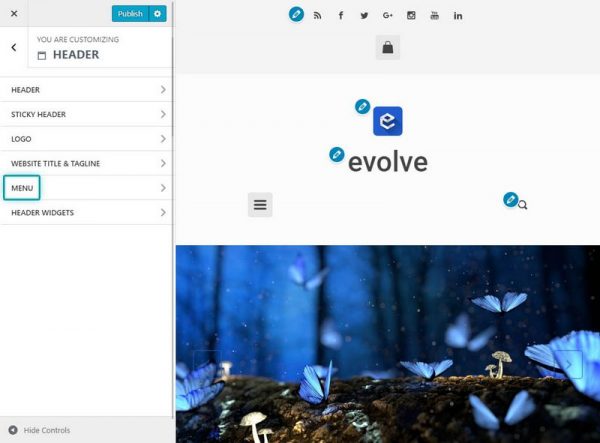
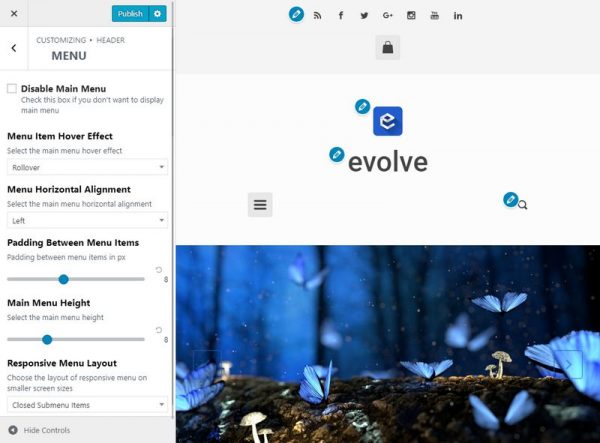
To customize the layout of your menu navigate to Appearance Customize Header Menu.
Layout Options
- Disable Main Menu
- this option disables the main menu, temporarily hide the menu
Styling Menu
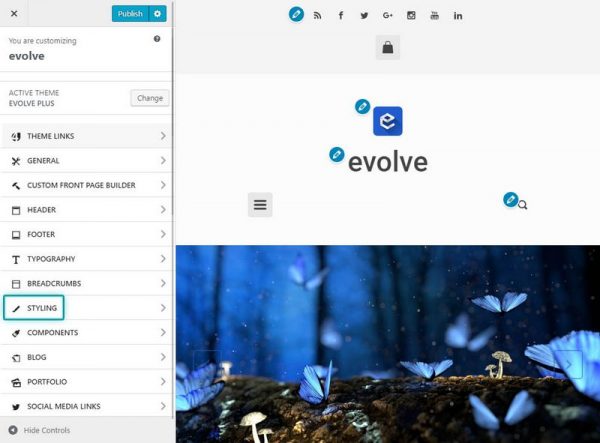
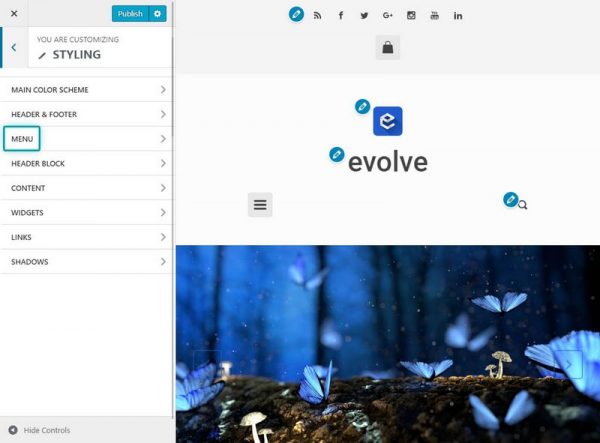
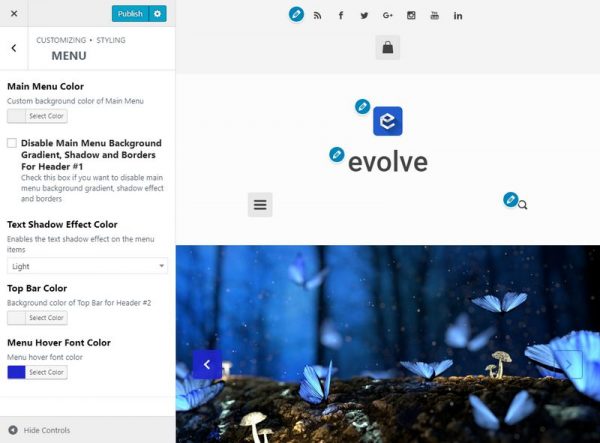
To customize the design of your menu navigate to Appearance Customize Styling Menu.
Styling Options
- Disable Main Menu Background Gradient, Shadow, and Borders For Header #1
- this option disables the background gradient style on Header #1
Video Tutorial


