
Introduction
The evolve Plus theme includes the premium Theme4Press Slider. Before beginning with the instructions, it's important to note how sliders work. You have both sliders and slides. Slides go inside of sliders. So, for example, you might have a slider called "Main slider" and then you might have 3 slides that go inside of that slider: Slide 1, Slide 2 and Slide 3.
Creating Slider & Setting Layout
To create a Theme4Press Slider, complete the following steps. First, create a slider. Go to Theme4Press Slider Add or Edit Sliders. On this page you can fill out the required fields to create a new slider like name, settings, such as height, width, etc.
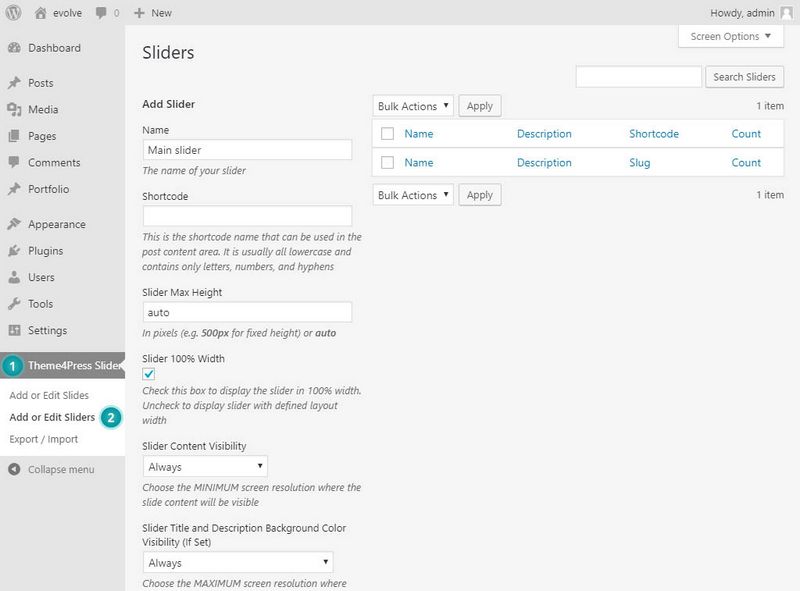
Options
- Name
- the name of the slider which is used when assigning the slider on a post/page
- Shortcode
- slider's slug which is used as a shortcode on various areas like posts, pages, widgets etc.
- Slider Max Height
- maximum allowed height of the slider
- Slider 100% Width
- enables/disables the slider full width
- Slider Content Visibility
- controls the visibility of slides content - title, description - on specific screen resolutions
- Slider Title and Description Background Color Visibility (If Set)
- controls the visibility of slides title and description background color on specific screen resolutions
- Display Navigation Arrows
- enables/disables navigation arrows on the slider


- Display Indicators
- enables/disables navigation indicators on the slider


- Autoplay
- sets if the slider will auto slide or after a trigger
- Slide Loop
- controls the loop of the slider, if it will repeat or not
- Animation
- controls the transition animation between slides
- Slideshow Speed
- defines the delay of the slider between slides
Once you filled out all the required fields, click the Add Slider button to create the slider.
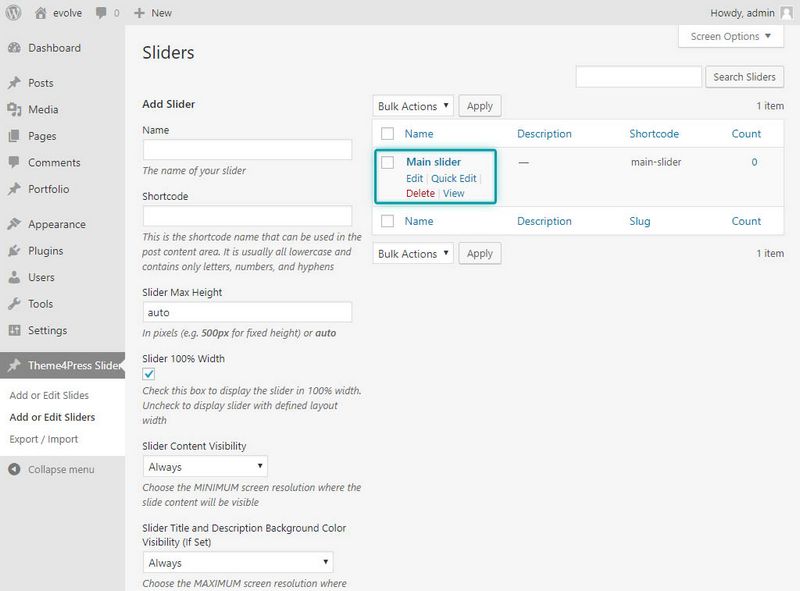
Editing Existing Slider
In order to edit an existing slider, move over the slider field where the manage buttons will be displayed. You may also delete the slider on this area.
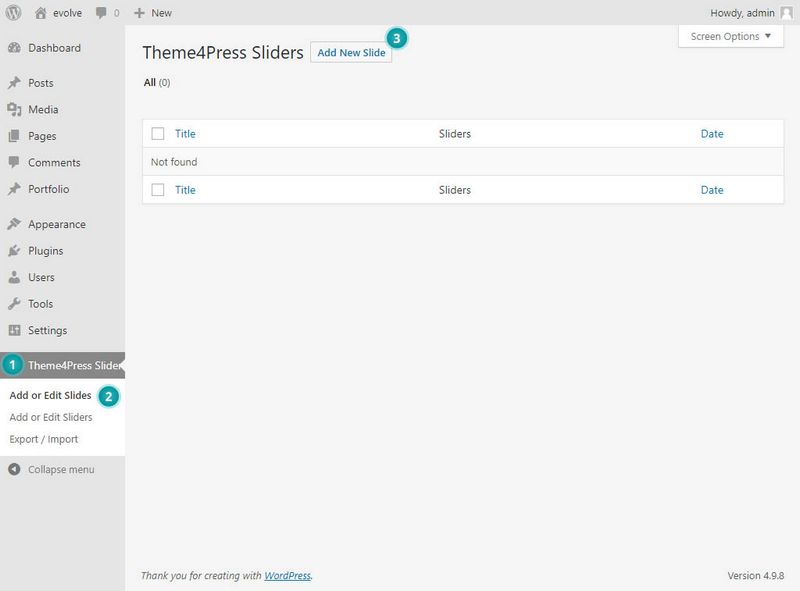
Adding Slides
You can create new slides by navigating to Theme4Press Slider Add or Edit Slides Add New Slide
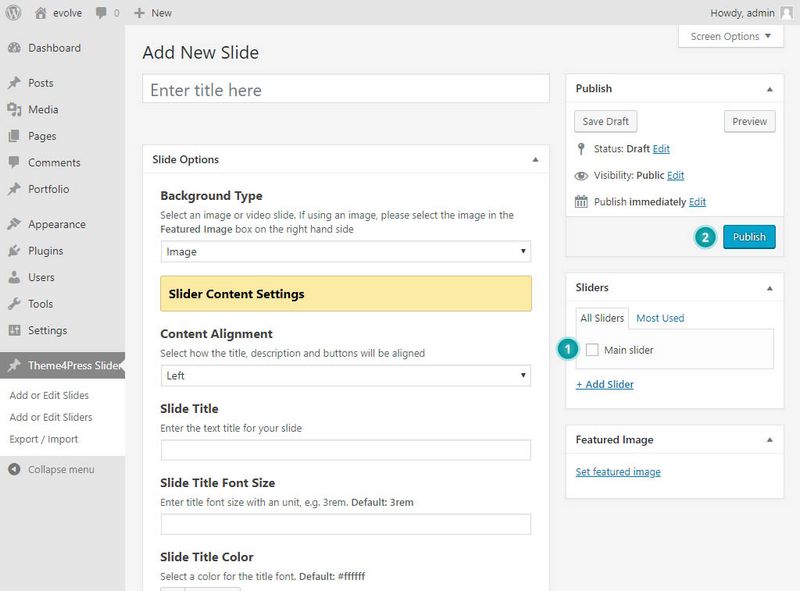
The slide editor has a few options which let you to set the slide as per your need - if you need an image or a video slide type. Choose your options and set your title and description in the settings section. Assign the slide to a slider (created previously) - 1. Ensure that you hit Publish to save your slides before moving on - 2, otherwise they will be lost. Repeat the process if you wish to add more slides to that slide-show.
It is also possible to create as many sliders as you wish and assign individual slides to a slider. It is a useful way to organize multiple sliders.
The slide editor comes with the following options:
- Add New Slide
- the name of the slide
- Background Type
- type of the slide, can be image or a video
- Content Alignment
- controls the content alignment - slide title, description, links
- Slide Title
- the main title of the slide


- Slide Title Font Size
- text size of the slide title
- Slide Title Color
- text color style of the slide title
- Slide Title Background
- sets the background color of the slide title text
- Slide Description
- the description of the slide


- Slide Description Font Size
- text size of the slide description
- Slide Description Color
- text color style of the slide description
- Slide Description Background
- sets the background color of the slide description text
- Slide Link Type
- defines if the slide will be fully clickable or not
- Button #1
- defines custom button #1 of the slide


- Button #2
- defines custom button #2 of the slide
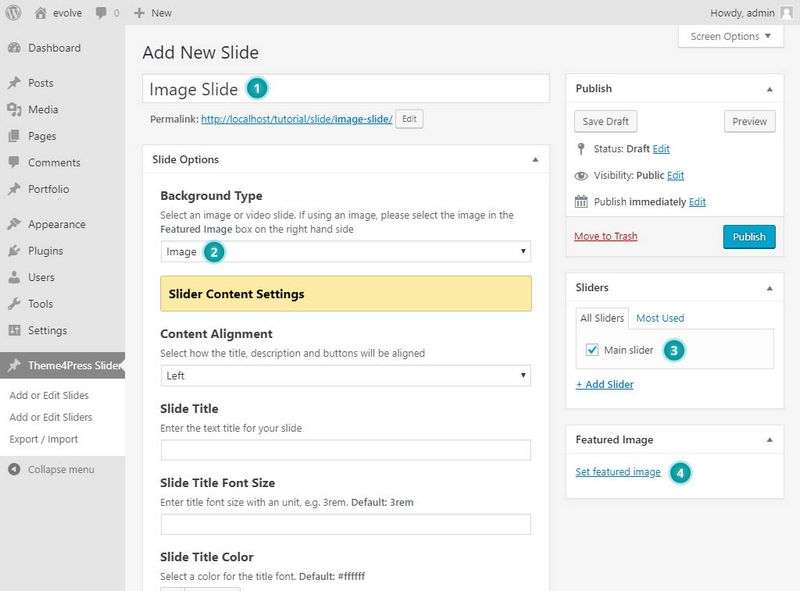
Image Slide
To set a slide to be an image run through the following steps. Give the slide a name - 1. Next select the background type - Image - 2. Fill out all the below additional fields as per your needs. Assign the slide to a slider - 3. Set desired image as a featured image which will be used for the slide background - 4. Click the Publish button to finish the process.
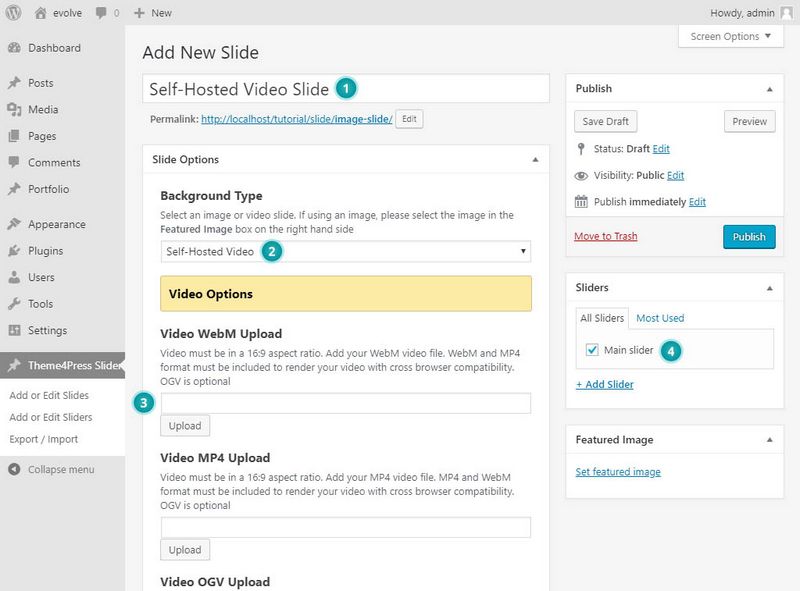
Self-Hosted Video Slide
To set a slide to be a self-hosted video run through the following steps. Give the slide a name - 1. Next select the background type - Self-Hosted Video - 2. Upload the required video files to the particular fields to enable the video for the slide background - 3. Fill out all the below additional fields as per your needs. Assign the slide to a slider - 4. Click the Publish button to finish the process.
Additional options for the self-hosted video slide:
- Video WebM Upload
- upload the video .webm file to this field
- Video MP4 Upload
- upload the video .mp4 file to this field
- Video OGV Upload
- upload the video .ogv file to this field
- Video Preview Image
- a placeholder image for mobile devices for self-hosted videos
- Video Color Overlay
- controls the overlay color effect over the video slide
- Mute Video
- enables/disables the video sound
- Autoplay Video
- sets if the video is autoplayed
- Loop Video
- controls if the video is repeated
- Hide Video Controls
- enables/disables the control buttons of the video
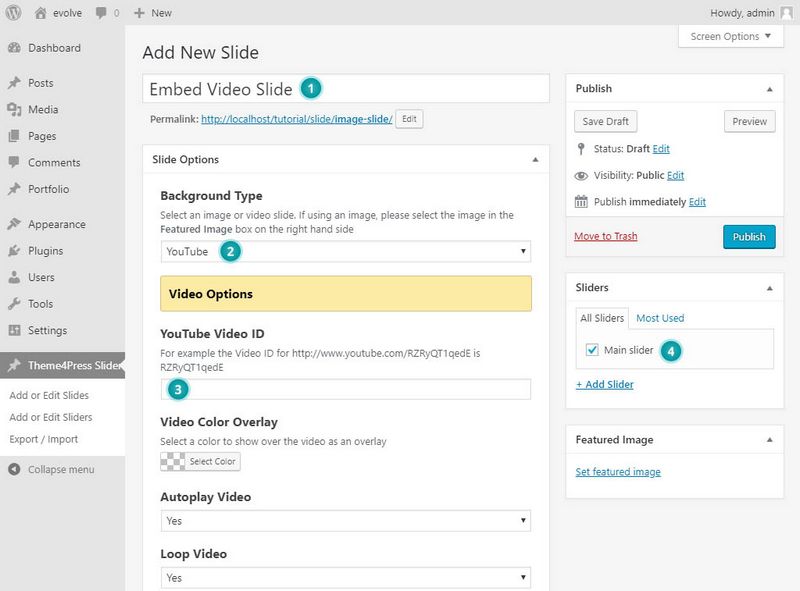
Embed Video Slide (YouTube / Vimeo)
To set a slide to be an embed video run through the following steps. Give the slide a name - 1. Next select the background type - YouTube or Vimeo - 2. Insert the embed video ID which you can usually find in the video URL - 3. Fill out all the below additional fields as per your needs. Assign the slide to a slider - 4. Click the Publish button to finish the process.
Additional options for the embed video slide:
- YouTube Video ID/Vimeo Video ID
- sets the video ID in this field
- Video Color Overlay
- controls the overlay color effect over the video slide
- Autoplay Video
- sets if the video is autoplayed
- Loop Video
- controls if the video is repeated
- Hide Video Controls
- enables/disables the control buttons of the video
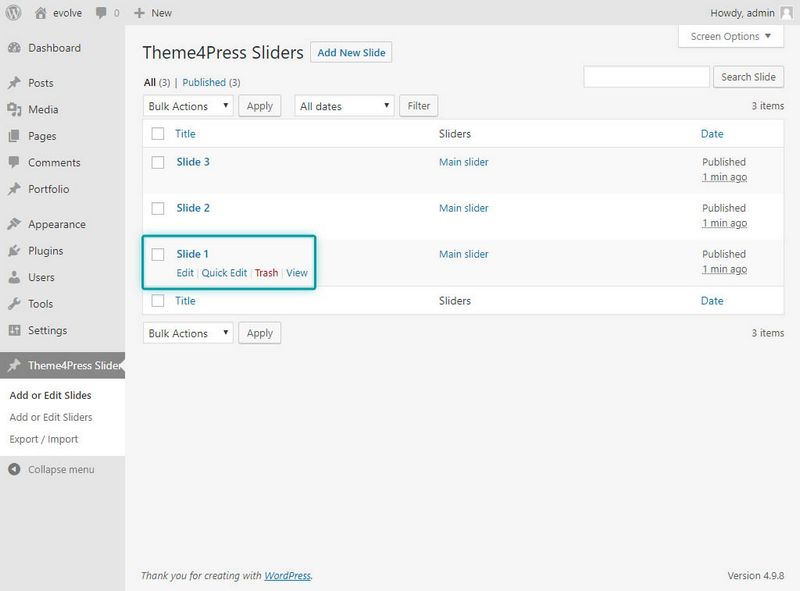
Editing Existing Slide
In order to edit an existing slide, move over the slide field where the manage buttons will be displayed. You may also delete the slide on this area.
Reorder Slides
As the slides are based on a custom post type, you can easily reorder them. There are 2 ways how to do it. Learn them in the instructions under.
Reorder Slide By Date
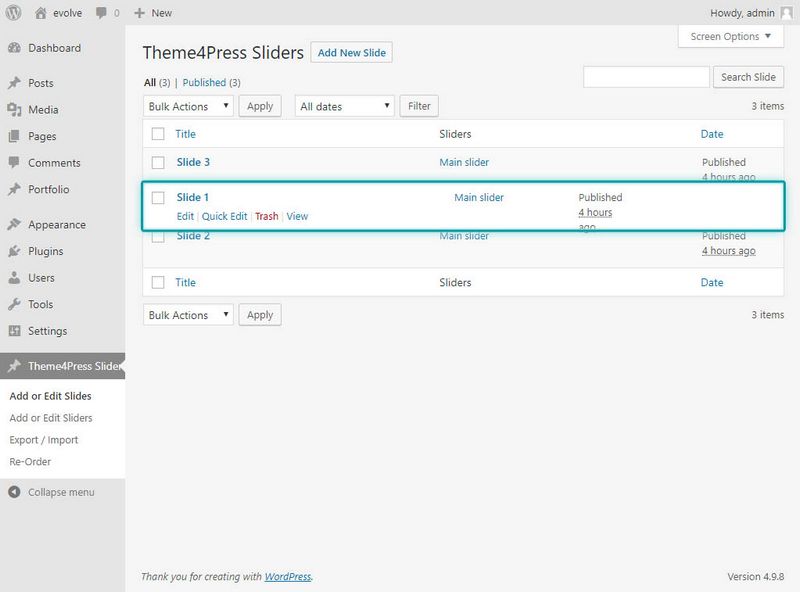
To reorder a slide, move over a slide and click the Quick Edit link to open the edit area. Slides are ordered by the date when they were published. If you need to move up or down any slide, just change its date to the corresponding date - 1. Once the change is done, finish the change by clicking the Update button - 2. Then you can refresh the slides page and the slide will be reordered to its new position.


Reorder Slide With Plugin
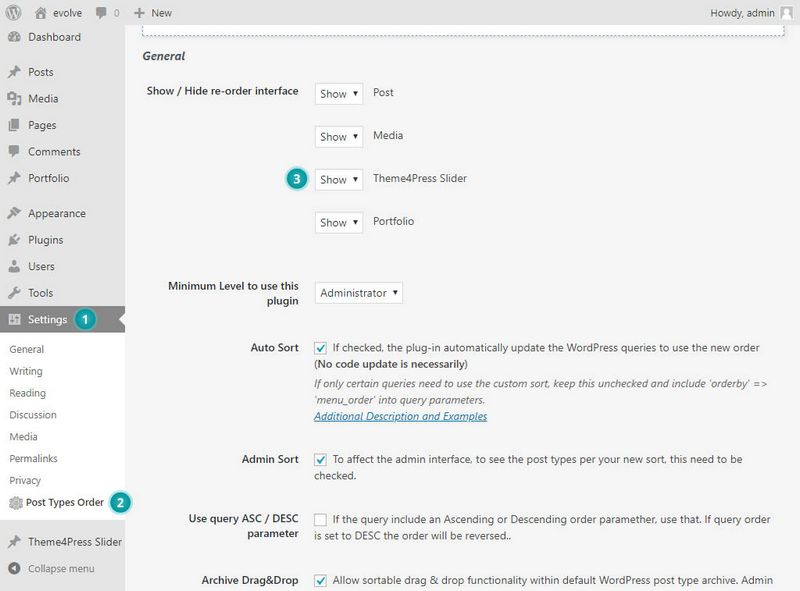
Another way how to reorder slides is to use a plugin. On the example under, we used plugin Post Types Order. After installing the plugin, please make sure it's enabled for the Theme4Press slides by visiting Settings Post Types Order. On this page the option Theme4Press Slider must have value - Show - 3.
Next you can visit the slides page and simply drag & drop the slides to the positions you require as shown on the image below.
Place Slider On a Post/Page
In order to place a slider on a post/page, see the instructions in the Sliders documentation