Introduction
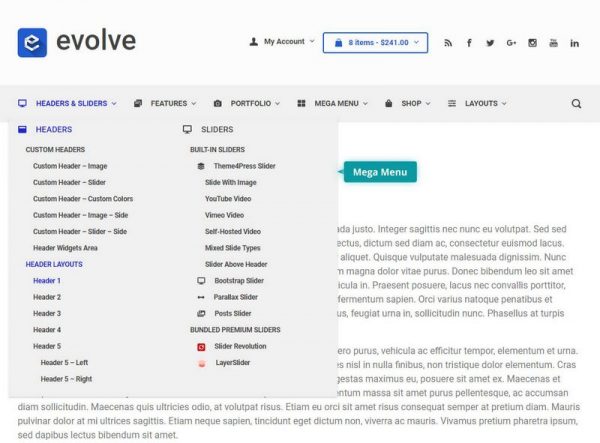
Built-in mega menu comes with additional styling to the standard menu which gives some extra look and features of the regular menu. Below you can find instructions how to set the particular parts of items with some unique styling and functions.
Setting Mega Menu Item
Enable Mega Menu
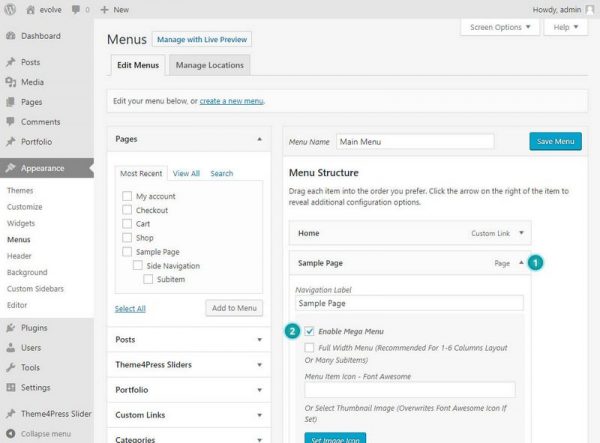
To enable a menu item to have layout style of the mega menu, toggle the menu item options and check the box Enable Mega Menu.
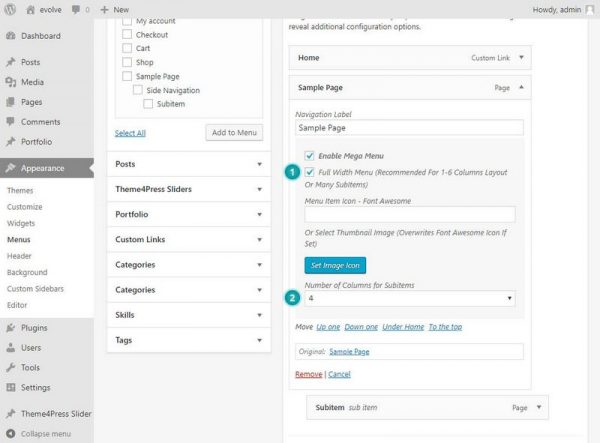
In the next step, you can set the mega menu to have full width or not - 1. If full width is enabled, then the menu will always have width of the website container even if you select the number of columns to one - 2.
Set Custom Icon/Image For Menu Item
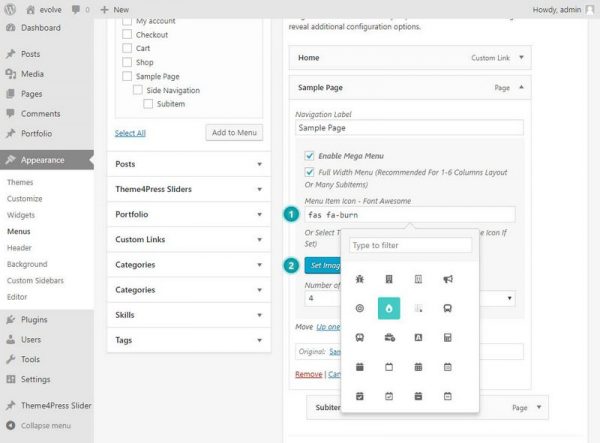
If you want to add an icon or a custom image to the menu item, you can simply add them in the text field - 1, where pop up with Font Awesome icons will be triggered once you click the text field or you may upload a custom image clicking on the Set Image Icon button - 2, which always overwrites the Font Awesome icon field, if set.
Menu Item As Column Title
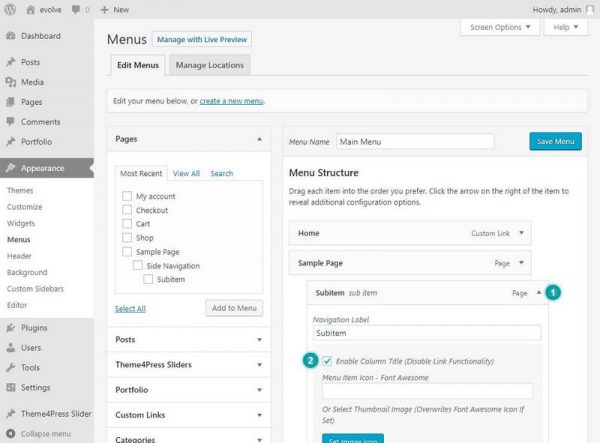
The first sub item under any top level menu item in the menu can be set as a column title, which disables the link functionality and enables the menu item as a heading. To enable an item to be a column title, open a sub item of your choice - 1 and check the box Enable Column Title (Disable Link Functionality) - 2.
Column With Widgets
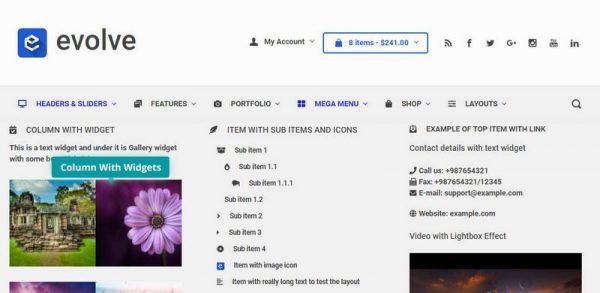
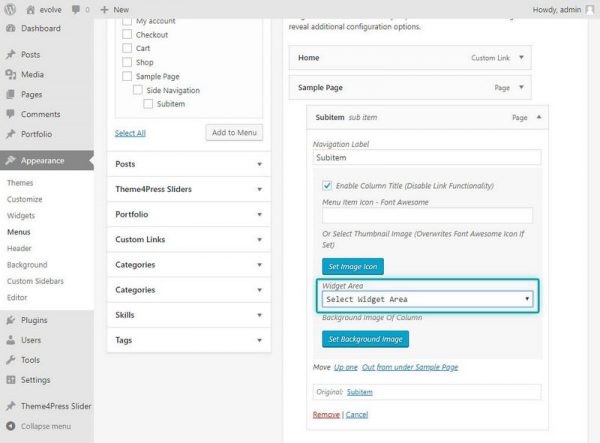
If you previously created widgets area in the Appearance Widgets you can assign them to any first sub item of the top level menu item as shown below on the image.
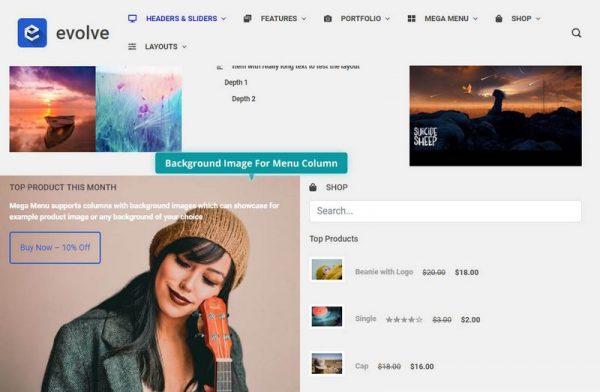
Background Image For Menu Column
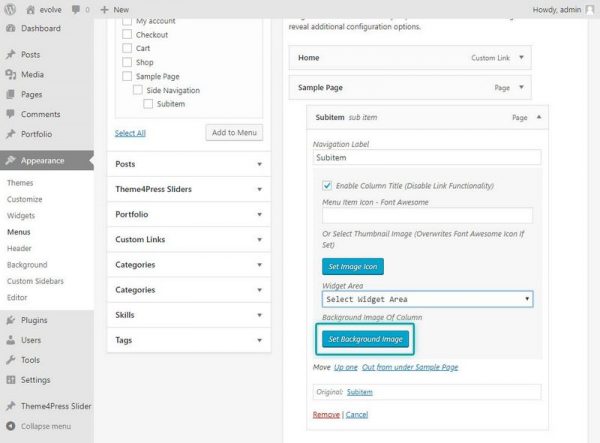
Mega menu sub item columns can have a specific background image. To set it click on the Set Background Image button which will open the media window where you can upload a new image or use an existing one from the media library.

